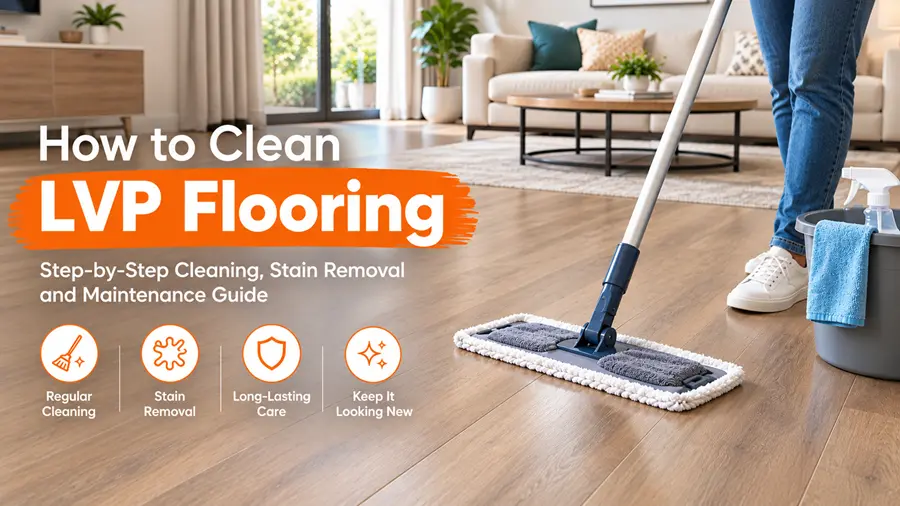
Clean LVP flooring in two stages. First, sweep, dust mop or vacuum without a beater bar to lift grit. Then damp mop with a pH-neutral, vinyl-safe cleaner and a well-wrung microfiber mop. Dry the surface. Skip steam mops, standing water, wax, polish, ammonia and abrasive pads. Always follow your manufacturer’s care instructions first, because requirements differ by product.
Contents
Why LVP Construction Changes How You Clean It
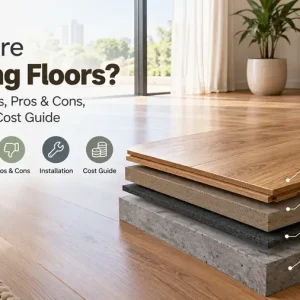
Luxury vinyl plank flooring is a layered product. Understanding the layers explains almost every cleaning rule that follows.
A typical plank contains four elements:
- Backing layer. Provides stability and, in some products, attached underlayment.
- Core layer. Determines rigidity and water behaviour. Stone plastic composite (SPC) and wood plastic composite (WPC) cores are rigid. Flexible vinyl cores bend.
- Design layer. A printed film that creates the wood or stone appearance.
- Wear layer. A clear urethane or aluminium oxide coating that protects everything beneath it.
The Wear Layer Decides Everything
The wear layer absorbs all foot traffic, grit and cleaning chemicals. Manufacturers measure it in mils. One mil equals 0.001 inch. Residential planks usually carry 6 to 12 mil. Commercial-grade planks carry 20 mil or more.
Thin wear layers scratch and dull faster. Once you abrade or chemically strip that coating, you cannot restore it. Polish and wax do not rebuild it. They only sit on top and trap dirt. Replacement is the only genuine repair for a failed wear layer.
This single fact explains why LVP care emphasises gentle tools, neutral chemistry and grit removal.
Water Tolerance Varies by Installation Type
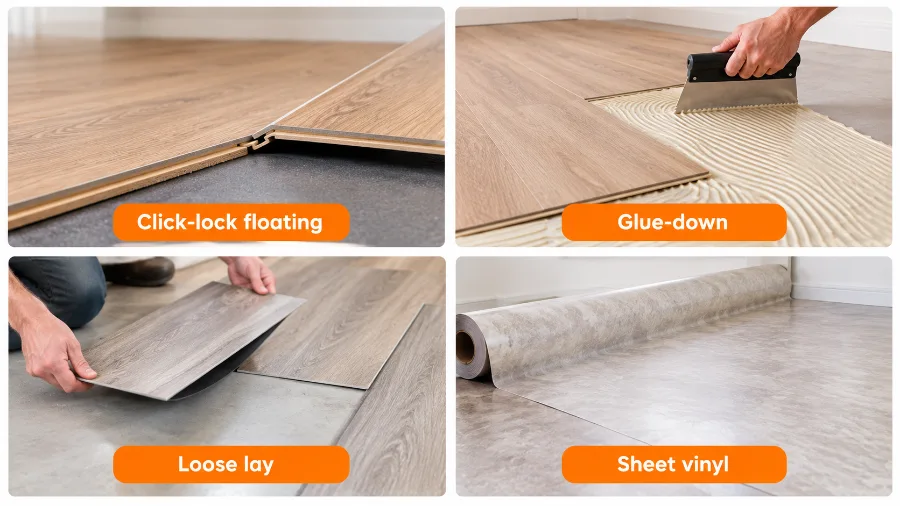
LVP resists water on the surface. The seams, edges and subfloor beneath it do not share that tolerance equally.
| Installation type | Water behaviour | Practical cleaning limit |
| Click-lock floating | Seams sit above the subfloor with no adhesive seal | Damp mop only. Water travels through seams to the subfloor |
| Glue-down | Adhesive bonds each plank to the subfloor | Damp mop only. Moisture and heat weaken adhesive |
| Loose lay | Sits on friction backing without full adhesive | Damp mop only. Standing water migrates under planks quickly |
| Sheet vinyl | Few or no seams across the field | Tolerates slightly more moisture, but pooling still damages edges |
Waterproof claims describe the plank material. They do not describe the subfloor, the seams or the adhesive. Treat every LVP floor as water-resistant during cleaning.
Check Manufacturer Care Instructions Before You Start
LVP care requirements differ between brands and even between product lines from the same brand. One manufacturer approves diluted white vinegar. Another prohibits acidic cleaners outright. Some permit low-setting steam on specific rigid core products. Most exclude steam damage from warranty coverage.
Locate your care guidance before choosing a cleaner.
- Check the installation booklet or warranty document supplied with the flooring Dubai.
- Search the manufacturer’s site for the product line’s care and maintenance sheet.
- Note the plank name printed on the box or on any spare planks stored after installation.
- Ask your installer or retailer if documentation is missing.
Manufacturer instructions override every general guideline in this article, including this article’s own recommendations.
Always Spot Test a New Cleaner
Test any unfamiliar product before full-floor use.
- Choose a hidden area. A closet interior, a spot under an appliance or a corner behind a door works well.
- Apply a small amount of the diluted cleaner.
- Wait 10 to 15 minutes.
- Wipe with a clean, damp microfiber cloth and dry the area.
- Inspect for dulling, whitening, colour change, tackiness or texture change.
Discard the product if the test area looks different from the surrounding floor.
Tools and Cleaners for LVP Flooring
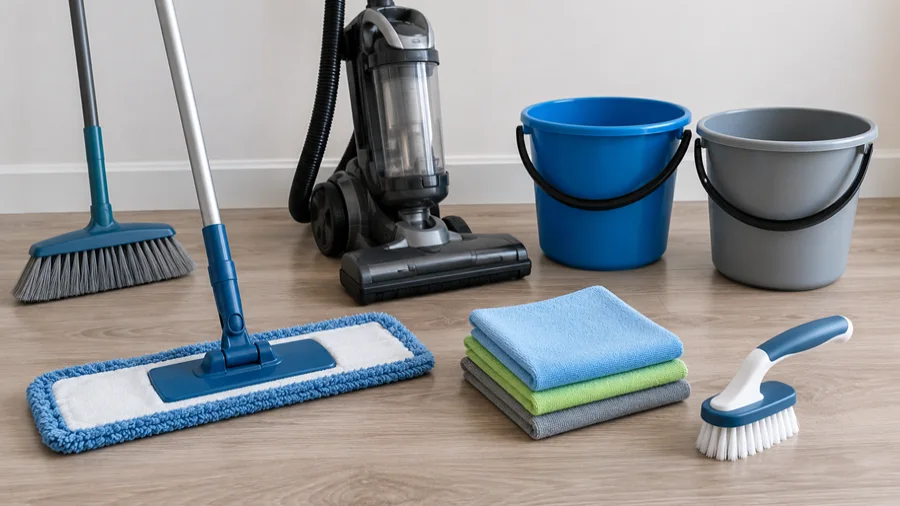
Correct equipment prevents most damage. The list is short and inexpensive.
Recommended tools
- Soft-bristle broom or dust mop with a microfiber pad
- Vacuum with the beater bar disengaged, or a hard-floor vacuum with a soft brush head
- Flat microfiber mop with washable pads
- Two buckets for larger areas
- Clean microfiber cloths for spot work and drying
- Soft nylon brush for textured surfaces and spot treatment only
Recommended cleaners
- A pH-neutral cleaner labelled for luxury vinyl or resilient flooring
- The cleaner named in your manufacturer’s care sheet
- A few drops of mild dish liquid in warm water for greasy kitchen floors, where permitted
What pH-Neutral Actually Means
pH measures acidity and alkalinity on a scale of 0 to 14. Neutral sits at 7. Products near 7 clean without chemically attacking the urethane wear layer.
Strong alkaline cleaners, such as degreasers, ammonia products and many all-purpose sprays, dissolve soils aggressively. They also erode the wear layer with repeated use. Floors treated this way lose gloss and turn grey or hazy within months, and the flooring is rarely at fault.
Strong acids create the opposite problem. They etch and dull the finish over time.
Read the label. Many products marketed for hard floors are far from neutral.
Safe and Unsafe at a Glance
| Category | Use | Avoid |
| Cleaners | pH-neutral resilient or vinyl floor cleaner, mild dish liquid in warm water | Ammonia, bleach, oil soap, pine-based cleaners, degreasers, abrasive powders, solvent cleaners |
| Tools | Microfiber flat mop, dust mop, soft broom, beater-bar-free vacuum, soft nylon brush | Steel wool, scouring pads, stiff bristle brushes, standard string mops, rotary scrubbers |
| Moisture | Well-wrung damp mop, warm water | Steam mops, wet mops, buckets poured onto the floor, standing water at seams |
| Finish products | Nothing. LVP arrives pre-finished | Wax, paste wax, acrylic polish, mop-and-shine products, oil-based restorers |
| Mats | Woven or non-staining backed mats, felt pads, hard-surface casters | Rubber-backed or latex-backed mats, adhesive-backed protectors |
How to Clean LVP Flooring: Step by Step
Follow this sequence for routine cleaning. The order matters more than the products.
Step 1: Dry Clean First
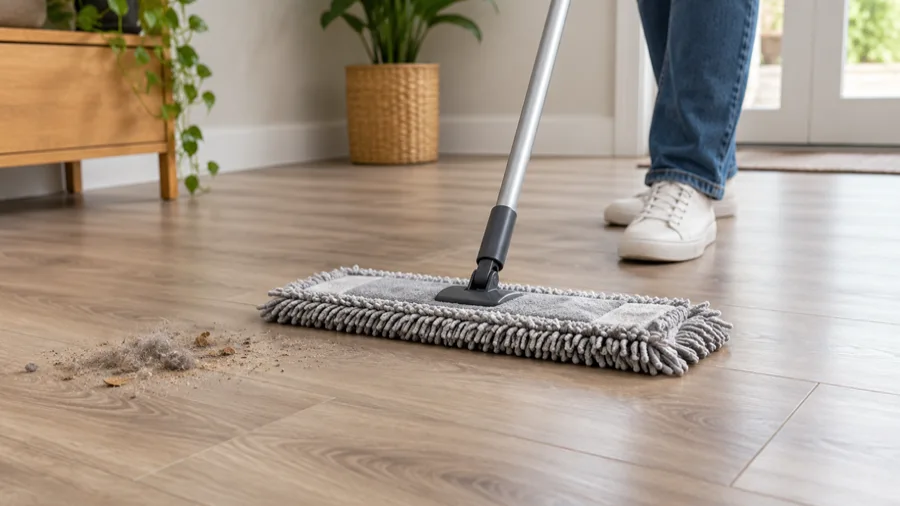
Remove all loose grit before any liquid touches the floor. Sand, road grit and pet hair behave like sandpaper under a wet mop. Mop pressure grinds those particles into the wear layer and produces fine scratches in traffic lanes.
- Dust mop in long, straight strokes. Circular motions scatter dust.
- Work to the baseboards, into corners and under furniture edges.
- If vacuuming, disengage the beater bar or switch to the hard-floor setting. A spinning brush roll marks the surface and dulls the finish.
- Check that the vacuum wheels carry no embedded grit.
Skipping this step causes more long-term LVP damage than any single chemical.
Step 2: Prepare the Cleaning Solution
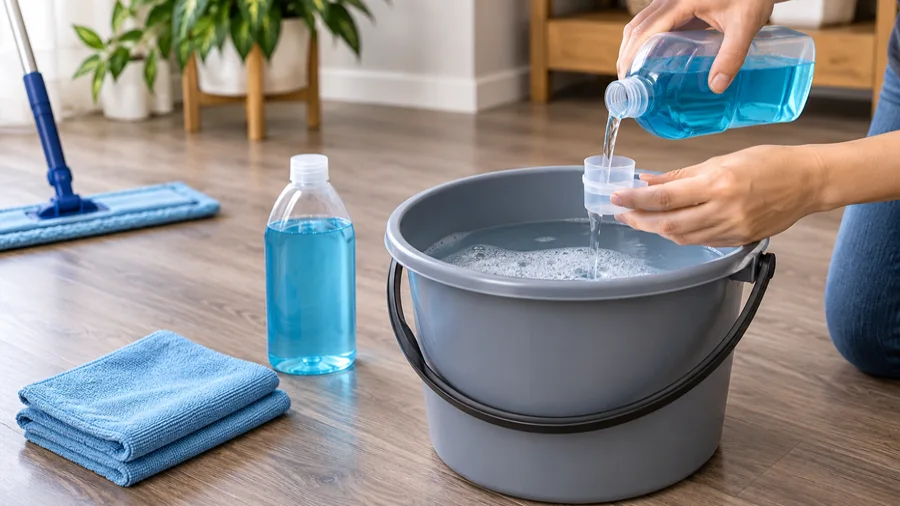
Fill a bucket with warm water. Hot water is unnecessary and increases the risk of seam and adhesive stress on glue-down floors.
Add the cleaner at the dilution printed on the label. Under-diluting is the most common cause of streaks and sticky floors. More cleaner does not clean better. It leaves residue that attracts dirt within days.
For greasy kitchen floors, a few drops of mild dish liquid in a full bucket of warm water works well. Use a light hand. Excess suds create film.
Step 3: Damp Mop the Floor
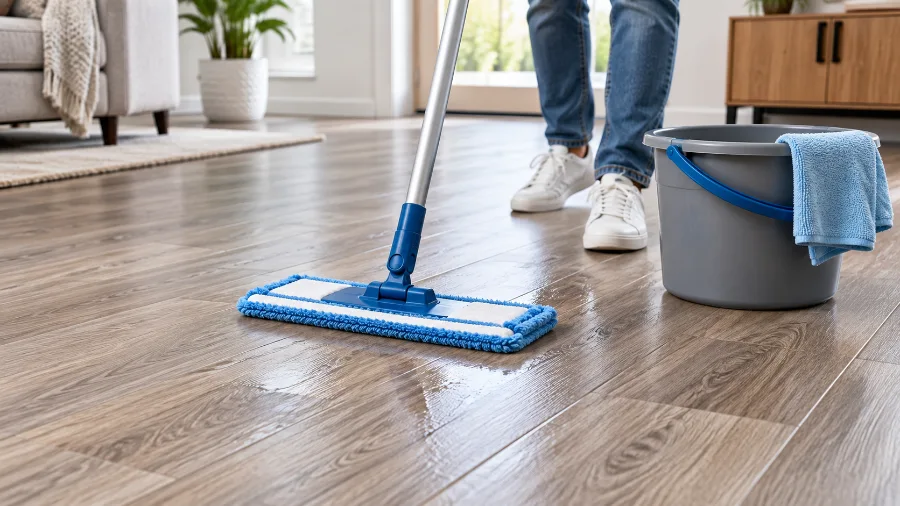
Dip the microfiber pad, then wring it firmly. The pad should feel damp, never dripping.
Use this test: press the pad against the floor. If it leaves a visible puddle or a film that takes more than a minute to disappear, wring it further.
- Start at the corner farthest from your exit.
- Work in sections of roughly 3 by 3 feet.
- Mop along the length of the planks. Following the plank direction hides mop lines and reduces streaking.
- Rinse and wring the pad frequently. A dirty pad redistributes soil.
- Change the water when it turns cloudy.
For larger rooms, use two buckets. Keep cleaning solution in one and rinse water in the other. Rinsing the pad in clean water before returning it to the solution keeps the mix effective for far longer.
Step 4: Rinse if the Cleaner Requires It
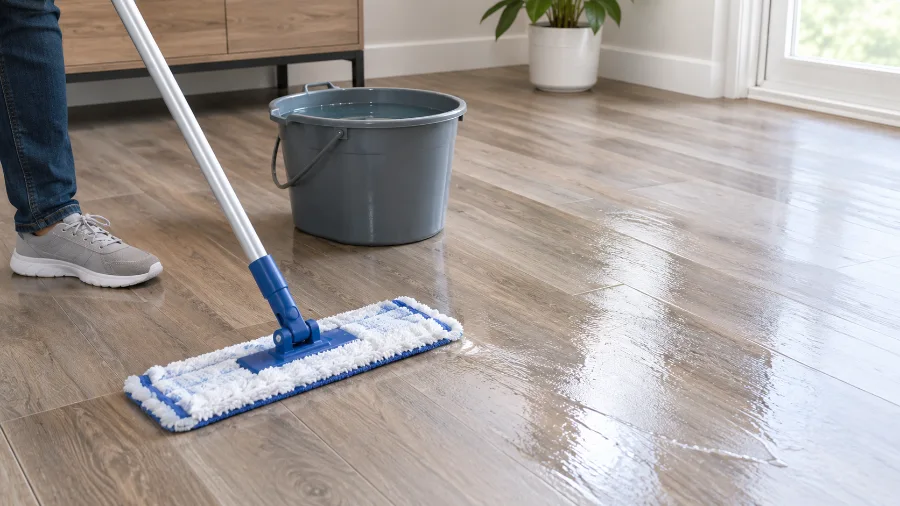
Many pH-neutral vinyl cleaners are labelled no-rinse. Follow the label.
If you used dish liquid or any product that leaves residue, go over the floor once more with a clean pad and plain warm water. Rinsing removes the soap film that causes streaks, dull patches and sticky floors.
Step 5: Dry the Surface
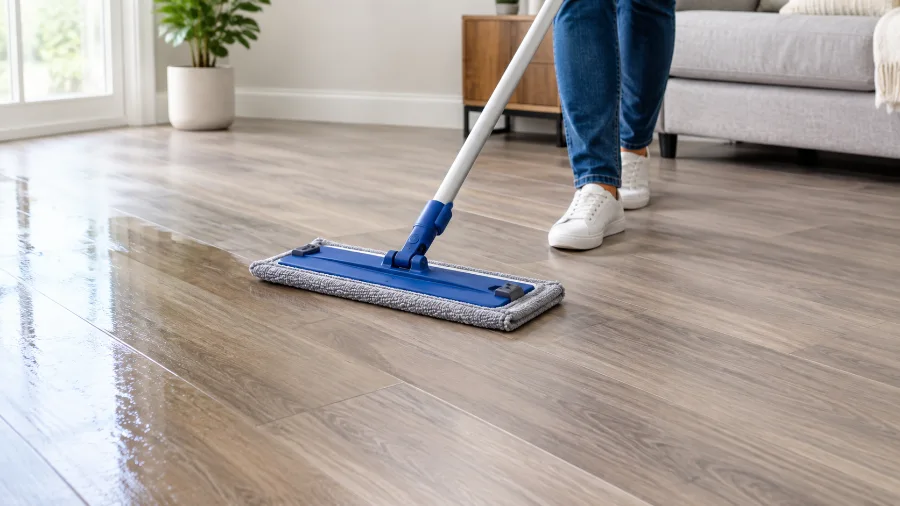
Do not leave the floor to air dry in wet patches.
- Wipe any visible moisture with a dry microfiber cloth.
- Pay attention to seams, transitions, doorways and the perimeter near baseboards.
- Keep traffic off the area until the surface is completely dry.
A properly wrung mop leaves a floor that dries in one to two minutes. Longer drying times indicate too much water.
How Often to Clean LVP Flooring
Frequency should follow traffic, not the calendar. A hallway and a guest bedroom do not need the same schedule.
| Area or household type | Dry clean | Damp mop | Deep clean |
| Entryways and hallways | Daily | 2 to 3 times weekly | Monthly |
| Kitchens | Daily | Twice weekly | Monthly |
| Living areas | 2 to 3 times weekly | Weekly | Quarterly |
| Bedrooms and low-traffic rooms | Weekly | Every 2 weeks | Quarterly |
| Homes with pets or young children | Daily | 2 to 3 times weekly | Monthly |
| Bathrooms and laundry rooms | 2 to 3 times weekly | Weekly | Monthly |
Treat spills as immediate work regardless of schedule. Blot them within minutes. Dried spills require scrubbing, and scrubbing is what damages the wear layer.
Deep Cleaning LVP Flooring
Routine mopping cleans the open field. Deep cleaning targets the areas a flat mop reaches poorly.
Focus on these areas:
- Edges where the floor meets baseboards and quarter round
- Corners and behind door swings
- Transition strips between rooms
- Beneath and around appliances
- Grout-look bevels on tile-format planks
- Embossed grain texture, which holds soil in the recesses
Deep cleaning method:
- Move light furniture. Lift, never drag.
- Dry clean the entire area, including edges and corners.
- Dampen a soft nylon brush or a microfiber cloth with your pH-neutral solution.
- Work the brush gently along the grain of embossed textures. Never scrub across a small area repeatedly with pressure.
- Wipe each section clean with a damp microfiber cloth before the solution dries.
- Rinse with plain warm water.
- Dry with a clean cloth.
Keep pressure light throughout. Deep cleaning means more attention, not more force.
Textured and hand-scraped finishes need this treatment more often than smooth planks. The recesses trap soil that a flat pad glides over.
Stain Removal on LVP Flooring
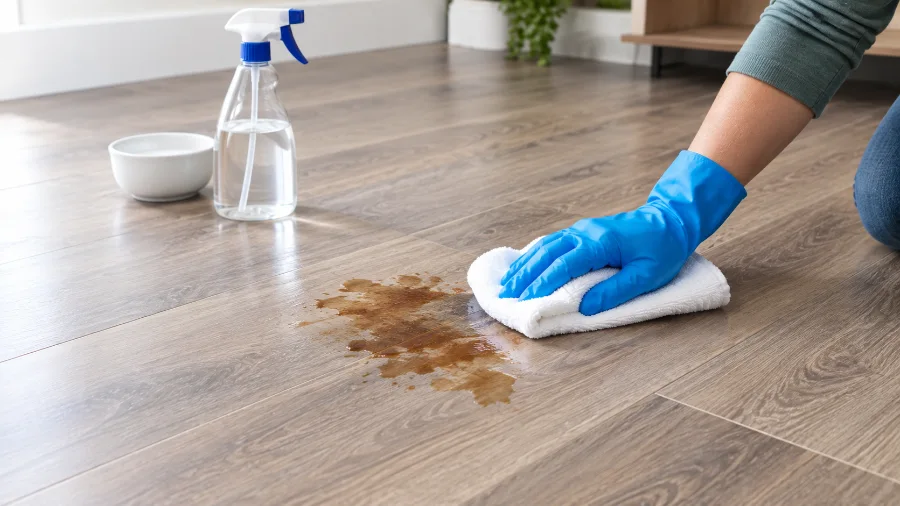
Blot fresh spills before they dry. Wipe, do not rub, because rubbing spreads the stain. Work from the outer edge toward the centre so the stain does not grow.
Apply any treatment to a cloth first, not directly to the floor. Spot test unfamiliar products. Rinse and dry the area after every treatment.
Stain Removal Reference
| Stain | Treatment | Warning |
| Grease and cooking oil | Warm water with mild dish liquid on a microfiber cloth | Avoid degreasers and alkaline sprays |
| Food, sauce, coffee, tea, wine | Baking soda paste (2 parts baking soda, 1 part water), applied with light pressure | Rinse thoroughly. Baking soda leaves a white film |
| Pet urine | Blot dry, clean with an enzymatic cleaner labelled safe for vinyl, then rinse | Never leave liquid at seams. Check seams for seepage |
| Ink, marker, lipstick, crayon | Rubbing alcohol on a cloth, applied briefly | Limit use. Alcohol dries and dulls vinyl with repeated application |
| Adhesive, sticker, tape residue | Warm soapy water and patience, then a plastic scraper held flat | Never use a metal blade or solvent thinners |
| Chewing gum and candle wax | Harden with an ice pack in a sealed bag, then lift with a plastic scraper | Do not apply heat |
| Nail polish | Blot immediately. Once dry, a small amount of rubbing alcohol on a cloth | Avoid acetone. It attacks the wear layer |
| Shoe polish and tar | Mild dish liquid solution first, then rubbing alcohol if needed | Test first. Pigments can transfer permanently |
| Rust and hard water marks | Baking soda paste, applied gently | Avoid rust removers and acidic descalers |
| Dried paint | Water-based paint softens with warm soapy water. Lift with a plastic scraper | Avoid paint thinners, mineral spirits and acetone |
| Blood | Cold water and mild dish liquid | Hot water sets the stain |
Additional Stain Guidance
Pet stains need attention below the surface. Urine that reaches a seam soaks into the subfloor and produces odour that surface cleaning cannot fix. Blot immediately, treat the surface, then check whether liquid entered the seams. Persistent odour after repeated cleaning indicates subfloor contamination and requires plank removal in that section.
Baking soda works because it is mildly abrasive. That property also makes it risky. Use light pressure, treat only the stain and rinse the residue completely.
Melamine foam erasers are abrasive. They remove marks by removing a microscopic amount of the surface. Repeated use dulls gloss and creates a visible flat patch. Treat them as a last resort on a small area, and never as a general cleaning tool.
Avoid solvent-based products for spot cleaning. Penetrating oils and lubricant sprays leave a film that attracts dirt and creates a slip hazard. Many manufacturers list solvents as prohibited.
How to Remove Scuff Marks from LVP Flooring
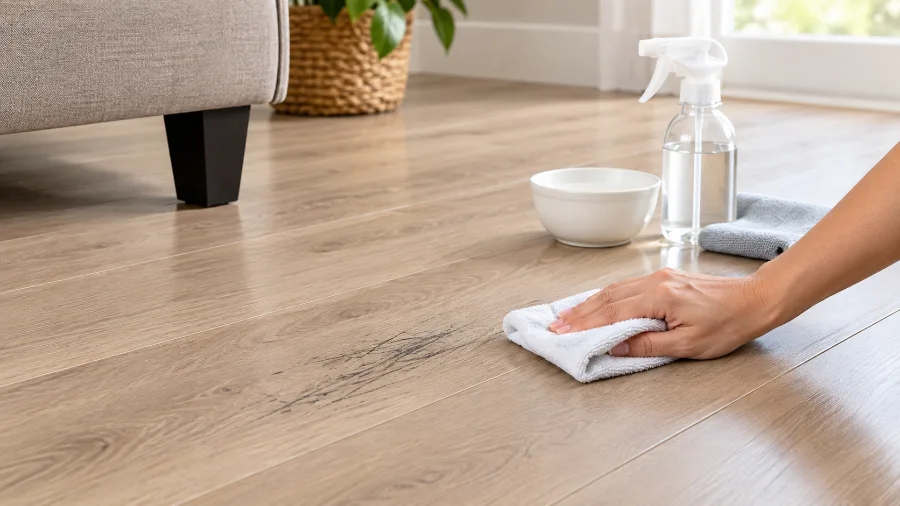
Scuffs are transferred material, usually rubber from shoe soles or furniture feet. They sit on the surface rather than in it, so gentle methods usually work.
Work through these steps in order and stop as soon as the mark lifts.
- Dry buff. Rub firmly with a clean, dry microfiber cloth. Many fresh scuffs disappear at this stage.
- Damp buff. Dampen the cloth with warm water. Rub in small circles.
- Cleaner buff. Apply a small amount of pH-neutral cleaner to the cloth. Rub gently, then rinse and dry.
- Baking soda paste. Apply the paste to the mark only. Rub lightly with a damp cloth. Rinse completely and dry.
- Tennis ball method. For a floor covered in scuffs, rub each mark with a clean tennis ball. The felt surface lifts rubber transfer without abrading the finish.
Never use steel wool, scouring pads or a metal scraper. Those tools trade a surface mark for permanent damage.
Prevent recurrence by fitting felt pads to furniture feet and adding a shoe-removal area near entrances.
Fixing Common LVP Flooring Problems
Most complaints about LVP appearance trace back to cleaning method, not product quality.
Streaks After Mopping
Causes: too much cleaner, insufficient rinsing, dirty mop water, a saturated pad, or a spray mop delivering premixed solution that leaves film.
Fix: mop the floor with plain warm water and a clean pad. Repeat until streaking stops. Then reduce your cleaner dose and change water more often.
Sticky or Tacky Floors
Causes: soap residue, over-concentrated cleaner, or products that contain conditioners and shine agents.
Fix: mop with plain warm water, rinsing the pad every few passes. Heavy buildup may need two or three passes. Wash microfiber pads without fabric softener, which transfers residue to the floor.
White Haze or Cloudy Film
Causes: hard water mineral deposits, dried cleaner residue, or accumulated polish and mop-and-shine product.
Fix: rinse with distilled water in hard water areas. For polish buildup, use a stripping product only if the flooring manufacturer approves one. Many prohibit strippers, and removal then becomes a specialist task.
Dull Floors and Lost Shine
Causes: micro-scratching from ground-in grit, wear layer erosion from harsh cleaners, or residue dulling the surface.
Fix: confirm the cause first. Residue responds to a plain-water rinse and the floor recovers immediately. Micro-scratching does not respond, because the damage is physical.
LVP arrives with a factory sheen level. That sheen belongs to the wear layer. No product restores it. Polish and shine products create temporary gloss, then yellow, streak and attract dirt. Manufacturers commonly void warranties over their use.
If the floor is worn rather than dirty, replacement of the affected planks is the honest solution.
Discolouration Under Rugs and Mats
Cause: rubber and latex mat backings react chemically with vinyl. Plasticiser migration between the two materials produces yellow or brown staining that penetrates the surface.
Fix: none. This damage is permanent.
Prevention: use only mats labelled non-staining and safe for vinyl flooring. Woven backings and felt underlays are safe choices. Check under existing mats now.
Scratches on LVP Flooring: Prevention and Repair
Prevention carries more value here than repair, because the design layer sits directly beneath the wear layer.
Preventing Scratches
- Fit felt pads to every chair, table and furniture leg. Inspect and replace them twice a year.
- Replace hard plastic casters with rubber-free, hard-surface wheels, or place chair mats rated for vinyl.
- Lay plywood or hardboard sheets when moving appliances and heavy furniture. Never drag.
- Trim pet nails regularly.
- Place mats at every exterior entrance. Grit control prevents more scratching than any other single measure.
- Remove outdoor shoes, particularly those with grit-holding treads.
Repairing Scratches
Light surface scuffs and micro-scratches: buff with a dry microfiber cloth. Many disappear entirely.
Shallow scratches in the wear layer: a manufacturer-approved repair pen or colour-matched wax fill stick reduces visibility. These products cosmetically fill rather than repair. Apply sparingly.
Deep scratches or gouges reaching the design layer: replacement is the only permanent solution. Click-lock planks in the field can be swapped by a competent installer. Glue-down planks require careful removal and re-adhesion.
Keep spare planks from the original installation. Dye lots vary, and a matching replacement is far easier than a close match years later.
Cleaning Methods to Avoid on LVP Flooring
Each item below carries a specific mechanism of damage.
Steam mops. Heat and pressurised moisture force water into seams and joints. Heat also softens adhesive on glue-down installations and can distort planks. Most manufacturers exclude steam damage from warranty coverage.
Wet mopping and standing water. Water at seams reaches the subfloor. Consequences include edge swelling, cupping, buckling, adhesive failure and mould between the plank and subfloor. Damp is the standard.
Abrasive tools. Steel wool, scouring pads, stiff brushes and rotary scrubbers cut into the wear layer. The damage is permanent and creates a rough surface that holds dirt.
Ammonia and ammonia-based cleaners. Ammonia is strongly alkaline. It degrades the protective coating, dulls the surface and can contribute to cracking and embrittlement over time.
Bleach. Bleach can discolour the design layer and strip the finish. Some manufacturers permit a heavily diluted solution for disinfection. Never assume this. Check the care sheet.
Wax and paste polish. LVP is pre-finished. Wax cannot bond correctly. It builds up, yellows, traps dirt and turns the floor cloudy. Removal is difficult.
Acrylic polish and mop-and-shine products. These leave a film that dulls and streaks. They also complicate future cleaning because each layer bonds to the last.
Oil soaps and pine-based cleaners. These leave an oily residue designed for sealed hardwood. On vinyl, they create a slippery film that attracts soil.
Degreasers and heavy-duty all-purpose cleaners. Their alkalinity strips the wear layer gradually. Floors cleaned this way turn grey within months.
Solvents. Acetone, paint thinner, mineral spirits and lacquer thinner dissolve or cloud the wear layer.
Spray mops with sealed premixed cartridges. You cannot verify the formula or dilution. Many contain shine additives. Use refillable systems with a cleaner you have chosen.
Vacuum beater bars. The rotating brush marks and dulls the surface with every pass.
Vinegar on LVP Flooring: The Realistic Position
Vinegar appears in almost every home cleaning discussion. The accurate answer is conditional.
The case for it: white vinegar diluted at roughly one cup per gallon of warm water cleans lightly and leaves little residue. Some manufacturers list it as an acceptable option.
The case against it: vinegar is acetic acid. Repeated use on a urethane wear layer can dull the sheen over time. Several major manufacturers explicitly prohibit acidic cleaners and treat their use as a warranty exclusion.
The practical rule: check your care documentation first. If your manufacturer permits vinegar, keep it as an occasional option rather than a weekly routine. If your documentation is silent or prohibits acids, use a pH-neutral vinyl cleaner instead.
Never use undiluted vinegar. Never mix vinegar with bleach.
Steam Mops on LVP Flooring: The Realistic Position
Steam cleaning is the most contested method in LVP care.
The general answer is no. Most manufacturers advise against steam and exclude steam damage from warranty coverage. Heat drives moisture into the seams, where it reaches the subfloor. Heat also stresses adhesive and can cause planks to distort or gap.
The narrow exception: a small number of rigid core products carry manufacturer approval for steam use at the lowest setting, with a microfiber cover and continuous movement.
Before using steam, confirm three things:
- Your manufacturer approves steam by name in writing.
- Your warranty does not exclude it.
- Your installation type tolerates it. Glue-down floors are the most vulnerable.
If any of the three is unclear, do not use steam. A damp microfiber mop cleans LVP effectively without the risk. For sanitising, use a disinfectant approved by your flooring manufacturer and applied on a damp cloth.
Long-Term LVP Maintenance and Prevention
Good maintenance reduces cleaning work and extends the life of the wear layer.
Control grit at the door. Place a coarse outdoor mat outside each exterior door and an absorbent, non-staining mat inside. This intercepts the majority of tracked soil.
Protect furniture contact points. Felt pads on legs. Hard-surface casters on rolling chairs. Vinyl-safe chair mats under desks.
Manage sunlight. Prolonged direct UV exposure fades and discolours vinyl over years. Use blinds, curtains or UV-filtering window film in strongly lit rooms. Rotate rugs occasionally so any fading stays even.
Manage temperature and humidity. Rigid core LVP expands and contracts with temperature change. Keep interior conditions stable, roughly 60 to 80 degrees Fahrenheit. Avoid leaving floors in direct sun behind closed blinds during hot weather.
Address spills immediately. Prompt blotting prevents nearly all staining.
Inspect seams periodically. Check entryways, kitchen sink areas and bathroom perimeters for lifting edges or moisture. Early detection prevents subfloor damage.
Clean mop pads properly. Wash microfiber pads in warm water without fabric softener or bleach. Softener coats the fibres and transfers residue to your floor.
Keep records. Store the care sheet, warranty and spare planks together.
Common LVP Cleaning Mistakes
- Mopping before sweeping. Grit becomes an abrasive under mop pressure.
- Using more cleaner than the label states. Residue attracts dirt and creates sticky floors.
- Using a saturated mop. Water at seams causes structural damage rather than surface damage.
- Leaving the beater bar engaged. The brush dulls the finish invisibly at first.
- Reusing dirty mop water. This redistributes soil and produces streaks.
- Applying polish to a dull floor. This adds a layer that must later be removed.
- Placing rubber-backed mats on vinyl. The resulting stain is permanent.
- Assuming waterproof means unlimited water. The claim covers the plank, not the seams or subfloor.
- Ignoring the care documentation. Products differ. Generic advice cannot account for that.
- Scrubbing hard on a stubborn stain. Repeated pressure removes finish along with the stain.
Frequently Asked Questions
What is the best cleaner for LVP flooring?
A pH-neutral cleaner labelled for luxury vinyl or resilient flooring is the safest general choice. The best option overall is the cleaner named in your flooring manufacturer’s care sheet, because some brands specify their own products as a warranty condition.
How often should I mop LVP flooring?
Mop high-traffic areas such as entryways and kitchens two to three times weekly. Mop living areas weekly and low-traffic bedrooms every two weeks. Dry clean daily in high-traffic areas. Adjust upward for homes with pets or children.
Can I use a steam mop on LVP flooring?
Generally no. Most manufacturers advise against steam and exclude steam damage from warranty coverage, because heat and moisture reach the seams and adhesive. A small number of rigid core products permit it at the lowest setting. Confirm written manufacturer approval first.
Can I use vinegar on LVP flooring?
Only if your manufacturer permits it. Diluted white vinegar at one cup per gallon of warm water cleans effectively, but the acidity can dull the wear layer with repeated use. Several manufacturers prohibit acidic cleaners. A pH-neutral cleaner is the safer default.
Why does my LVP floor look streaky after mopping?
Streaks usually come from excess cleaner, dirty mop water or a mop that was too wet. Rinse the floor with plain warm water and a clean pad, then reduce your cleaner dose and change the water more frequently.
Why is my LVP floor sticky after cleaning?
Sticky floors indicate soap or cleaner residue. Mop with plain warm water and a clean microfiber pad, rinsing the pad often. Heavy buildup may need several passes. Then correct your dilution.
How do I make LVP flooring shine again?
Remove residue first, because most dullness is buildup rather than wear. Rinse with plain warm water and dry with a microfiber cloth. Do not apply wax or polish. LVP is pre-finished, and shine products cause buildup and often void warranties. Genuine wear layer damage cannot be restored.
Can I use a Magic Eraser or melamine sponge on LVP?
Use them rarely and lightly. Melamine foam works by abrasion and can dull the finish, leaving a visible flat patch. Try dry buffing, damp buffing and baking soda paste first.
What happens if water gets under LVP flooring?
Trapped moisture can cause edge swelling, cupping, buckling and adhesive failure. It can also produce mould between the plank and subfloor. Dry any spill quickly. If water has already penetrated, lift the affected planks and dry the subfloor completely.
Can I use bleach on LVP flooring?
Avoid it unless your manufacturer specifically permits a diluted solution. Bleach can discolour the design layer and degrade the protective coating. For disinfection, use a product approved for your flooring and apply it on a damp cloth.
Does LVP flooring need to be waxed or sealed?
No. LVP comes pre-finished with a urethane wear layer. Wax, sealant and polish cannot bond properly. They build up, trap dirt and produce a cloudy film that is difficult to remove.
How do I clean textured or embossed LVP?
Dry clean more often, because grain recesses hold soil. During deep cleaning, use a soft nylon brush dampened with pH-neutral solution and work along the grain direction with light pressure. Wipe clean before the solution dries.
Is LVP flooring waterproof or water-resistant?
The plank material itself is usually waterproof. The installed floor is water-resistant, because seams, edges, adhesive and the subfloor beneath remain vulnerable. Clean with a damp mop and never leave standing water.
Can I use a robot vacuum on LVP flooring?
Yes, provided it has no aggressive beater bar and its wheels stay free of embedded grit. Robot vacuums support daily grit removal well. Use caution with combined mopping models and confirm they do not leave standing water.