To clean timber floors, remove grit with a vacuum or soft broom, then damp mop with a barely wet microfibre mop using a gentle natural solution matched to your floor’s finish, and dry the surface within two minutes. Never flood the boards, never use a steam mop on real wood, and never pour any cleaner directly onto the timber.
That short answer covers the mechanics. The part most people miss is the phrase “matched to your finish.” Two identical-looking oak floors can need completely opposite treatment, and the wrong solution damages a floor slowly enough that nobody connects the cause to the effect. A dull patch appears near the kitchen. Board edges swell and turn faintly white. The shine fades in the hallway first. None of that happens because someone skipped a mop. It happens because the cleaning method never suited the coating sitting on top of the wood.
This guide by Nova Floor Experts gives you the finish test that takes two minutes, 8 natural cleaning ways that work on real timber, floor-by-floor instructions for floating, laminate, engineered, polished, parquet and raw boards, and the maintenance schedule that keeps floorboards looking new for 15 to 20 years between recoats.
Contents
Step 1: Identify Your Finish Before You Touch It
Your finish decides your cleaner. Run these three tests in a hidden corner, under a sofa or inside a wardrobe.
- The water bead test. Drop a few drops of water on the boards and wait 60 seconds. Beads that sit on top mean a sealed surface, usually polyurethane or lacquer. Water that soaks in and darkens the wood means an oiled, waxed, or raw floor.
- The white spot test. Place two drops of water and wait 10 minutes. White or cloudy marks point to a wax finish. Wax needs solvent-based care, not water and not acid.
- The scratch test. Rub a hidden edge lightly with your fingernail or fine steel wool. A waxy smear means wax. Tiny clear flakes mean a polyurethane coating.
| Test result | Your finish | Safe approach |
| Water beads, no mark | Polyurethane/lacquer / sealed | Damp microfibre with a pH-neutral or mild natural solution |
| Water soaks in slowly, wood darkens | Penetrating oil / hardwax oil | Oil-specific cleaner only, no vinegar, no soap film |
| White cloudy spots appear | Wax | Dry care and solvent buffing, never water |
| Water absorbs instantly | Raw / unsealed timber | Near-dry cleaning only |
If you inherited the floor and cannot tell, treat it as oiled. That assumption protects the wood while you check with the installer or manufacturer.
Step 2: Know Your Floor Construction
Finish tells you what cleaner to use. Construction tells you how much water you can risk.
- Solid timber. One piece of wood through the whole board. Handles recoating and sanding many times. Moves the most with humidity.
- Engineered timber. A real timber veneer bonded over plywood or HDF layers. More stable in heat and humidity, but the wear layer can be as thin as 2mm.
- Floating floors. Click-locked boards that sit on underlay without glue or nails. The locking joints are the weak point. Water that reaches a joint swells the core from inside, and no amount of surface drying reverses it.
- Laminate. A photographic timber-look layer over fibreboard. It cleans easily but hates moisture more than any sealed hardwood floor does.
- Parquet. Small blocks laid in patterns, often bitumen-bonded in older Australian homes. Excess water lifts individual blocks.
The 3-Step Foundation That Does 80% Of The Work
Every method below sits on top of this routine. Skip these steps and even the best cleaner will grind dirt into your finish.
- Remove the grit. Sand and grit act like sandpaper underfoot. Sweep with a soft broom or vacuum with the hard floor setting and the beater bar switched off, because a rotating brush roll scratches timber. Pay attention to entryways, under dining chairs, and along skirting boards where dust collects.
- Dry dust with microfibre. A dry microfibre mop grabs the fine dust a broom pushes around. Move along the grain, not across it. This single habit prevents most micro-scratching.
- Damp mop with control. Wring the mop until it barely feels moist. Hold it up, and if a single drop falls, wring again. The floor should air dry in two to three minutes. Puddles mean you used too much water, and standing water is the one thing that ruins more timber floors than every harsh chemical combined.
How To Clean Timber Floors Naturally: 8 Methods That Work
These natural solutions cost a fraction of commercial products and skip the synthetic fragrance. Test every recipe in a hidden spot before you commit to the whole room.
Method 1: Castile Soap And Warm Water (The Everyday Workhorse)
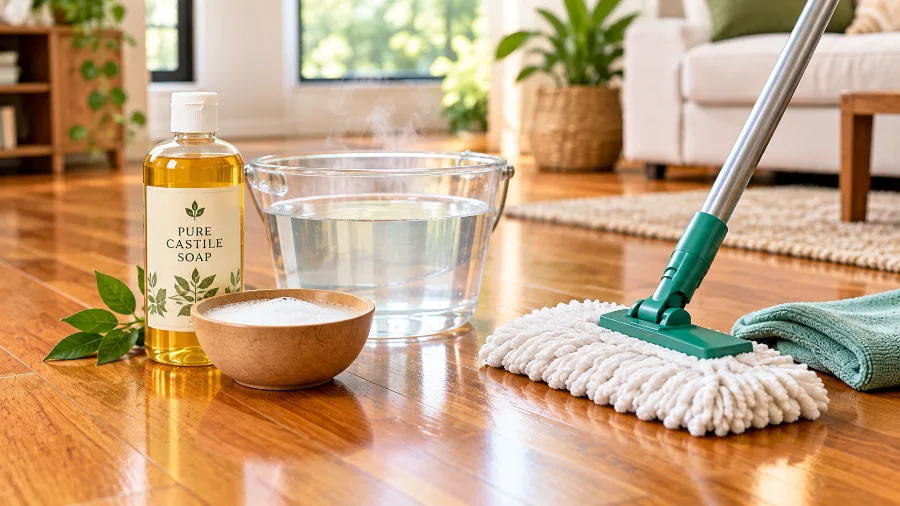
Recipe: 1 teaspoon liquid castile soap per 4 litres of warm water. For a spray bottle, use 1 teaspoon per 4 cups.
Directions: Mix gently. You should see no suds, because foam means too much soap. Dip a microfibre mop, wring it hard, and work in one-metre sections along the grain.
Why it works: Castile soap is a plant-oil soap with a mild pH that lifts grease without stripping polyurethane. It handles kitchen splatter and hallway grime far better than water alone.
Best for: Sealed solid timber, engineered timber, polyurethane and lacquer finishes.
Watch out: Hard water plus too much soap leaves a dull film. Cut the soap in half before you blame the recipe. Never mix castile soap with vinegar, because the acid breaks the soap apart and leaves a curdled, oily mess on your boards.
Method 2: Diluted White Vinegar (Use It Correctly Or Not At All)
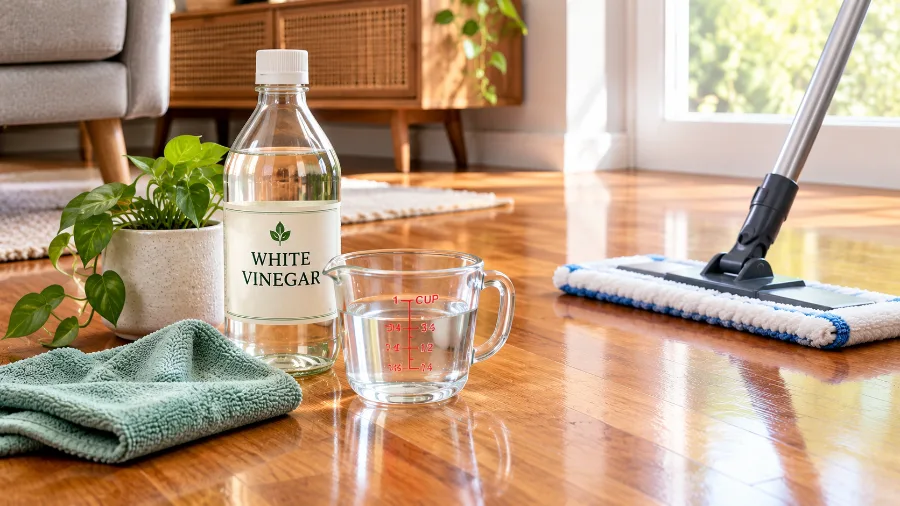
This is the most argued-about method on the internet, so here is the honest position.
The National Wood Flooring Association advises against vinegar on wood floor finishes because acid degrades coatings over time. Many cleaning companies still recommend it for polyurethane. Both sides have a point, and the resolution comes down to dilution and frequency.
Recipe: 60ml (¼ cup) white vinegar per 4 litres of warm water. That is a very weak solution, and weak is the point.
Directions: Damp mop, follow with a plain water pass, then dry. Do not let the solution sit.
The verdict: Occasional use on intact polyurethane causes no measurable harm. Weekly use for years will dull the finish. Treat vinegar as an occasional degreaser rather than your default cleaner.
Never use vinegar on: oiled floors, waxed floors, raw timber, or any floor still under manufacturer warranty. Acid strips the protective oils and leaves oiled boards looking chalky and dry.
Method 3: Mild Dish Soap And Water (The Easiest Method)
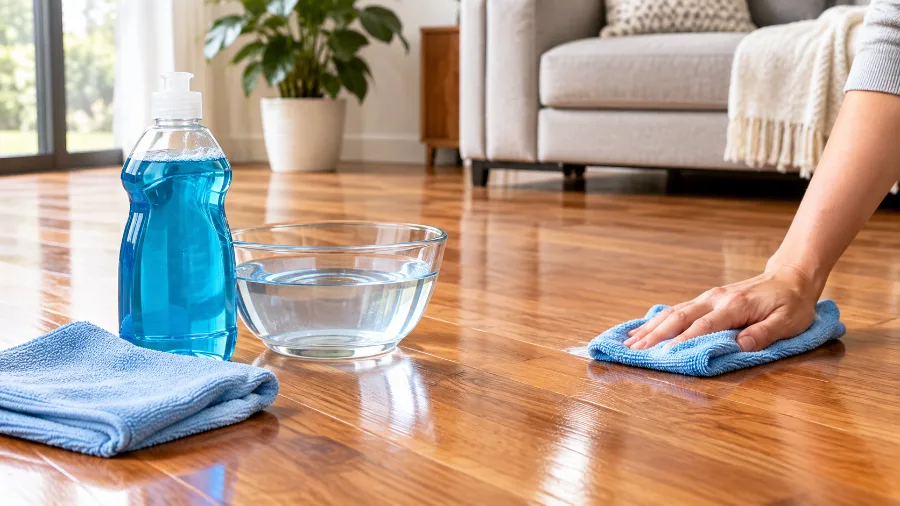
Recipe: 2 to 3 drops of Dawn or any mild dish liquid per 4 litres of warm water.
Directions: Dip, wring until nearly dry, and mop with the grain.
Why it works: Dish soap is a surfactant built to break down oils. Kitchen floors collect airborne cooking grease that plain water simply smears around.
Best for: Sealed timber, laminate, engineered boards, and quick clean-ups after cooking.
Watch out: Two drops means two drops. Over-soaping is the leading cause of streaks. Keep this as a monthly degreaser rather than your weekly wash, since detergents left on a floor slowly build residue.
Method 4: Black Tea (Natural Polish For Dark Floors)
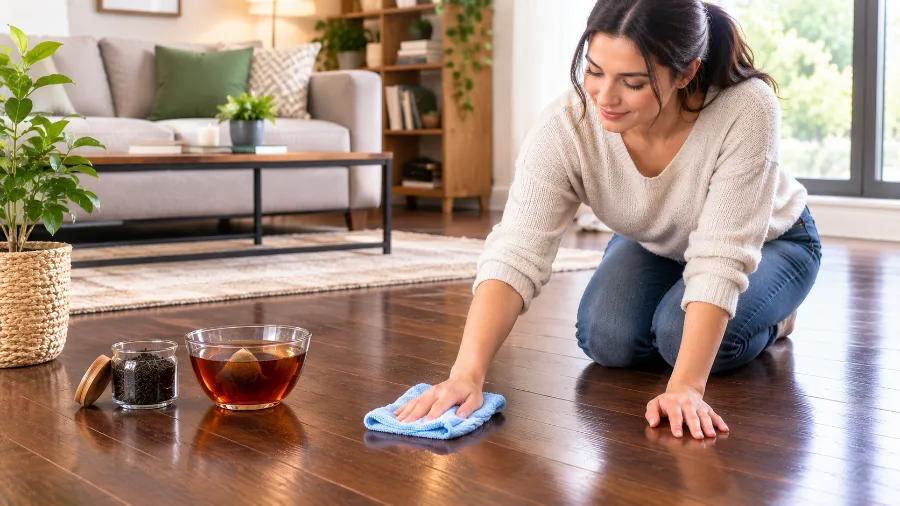
Recipe: Steep 4 black tea bags in 1 litre of boiled water for 10 to 15 minutes, then cool to room temperature.
Directions: Wring a cloth or microfibre pad in the cooled tea, wipe in sections along the grain, then buff with a soft dry cloth.
Why it works: Tannic acid cleans light grime and fingerprints while the tannins interact with the finish to produce a warm, low sheen. Older Australian homes relied on this method long before bottled floor polish existed.
Best for: Dark-stained boards, walnut, ebony, and deep oak tones.
Watch out: Repeated use lightly tints pale floors over time. Skip it on blonde oak and whitewashed boards.
Method 5: Bicarbonate Of Soda Paste (Targeted Stain Removal)
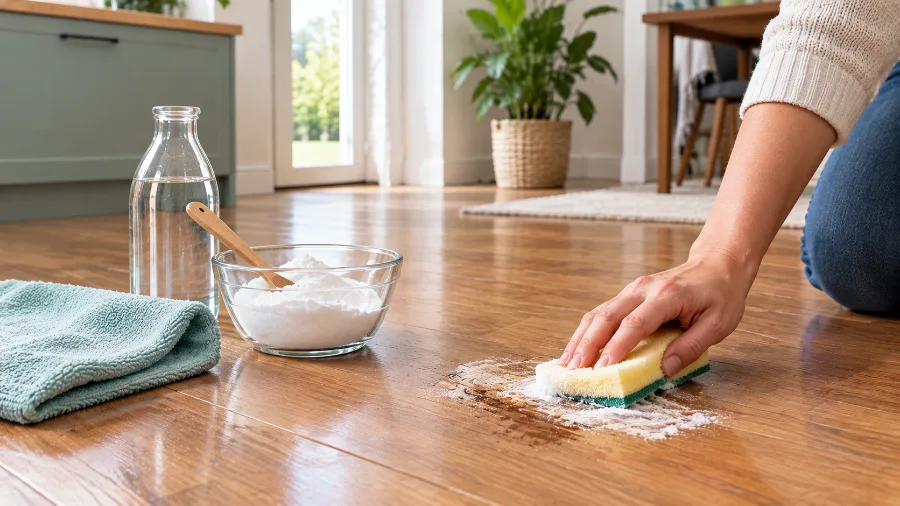
Recipe: 2 tablespoons bicarb soda with just enough water to form a thick paste.
Directions: Apply the paste to the mark only, leave it for five minutes, then scrub gently with a soft cloth in small circles. Wipe clean with a damp cloth.
Why it works: Bicarb is a fine, mildly alkaline abrasive that lifts scuffs and surface stains without cutting into the coating.
Best for: Rubber heel marks, pet accidents, dried food, and dark water rings on sealed floors.
Watch out: Never use it as a whole-floor treatment. Its alkalinity degrades the seal across large areas, and constant scrubbing wears a visible dull patch.
Method 6: Oil And Vinegar Rub (For Raw And Unsealed Timber)
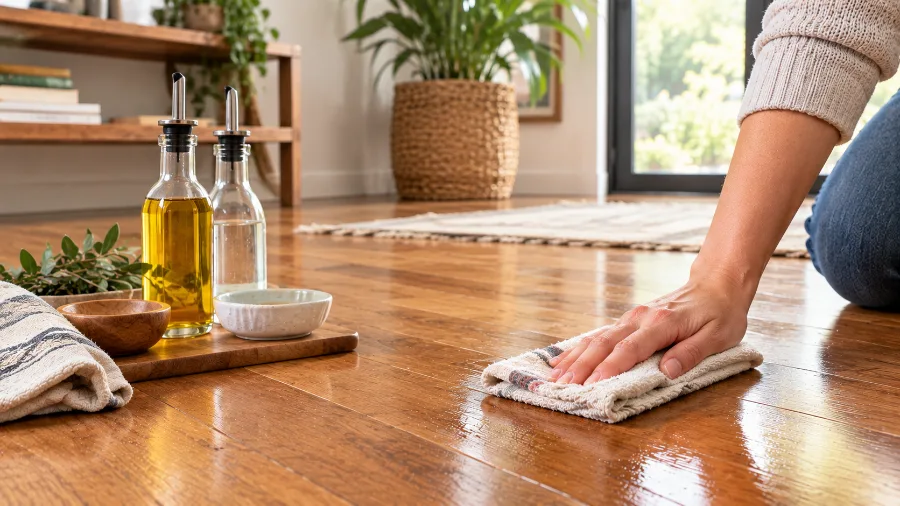
Recipe: 3 parts olive or jojoba oil to 1 part white vinegar, applied by cloth only.
Directions: Dampen a soft cloth with the mixture, rub a small section along the grain, then buff off every trace with a dry cloth. Work in half-metre sections and never leave oil sitting on the surface.
Why it works: Raw wood has no coating to protect. The oil feeds the fibres while the tiny amount of acid cuts grime, and the cloth-only application keeps liquid volume near zero.
Best for: Raw timber, reclaimed boards, and antique floors with no seal.
Watch out: Excess oil attracts dust and turns sticky. Buff until the surface feels dry to the touch.
Method 7: Tea Tree And Eucalyptus Spray (Natural Disinfectant)
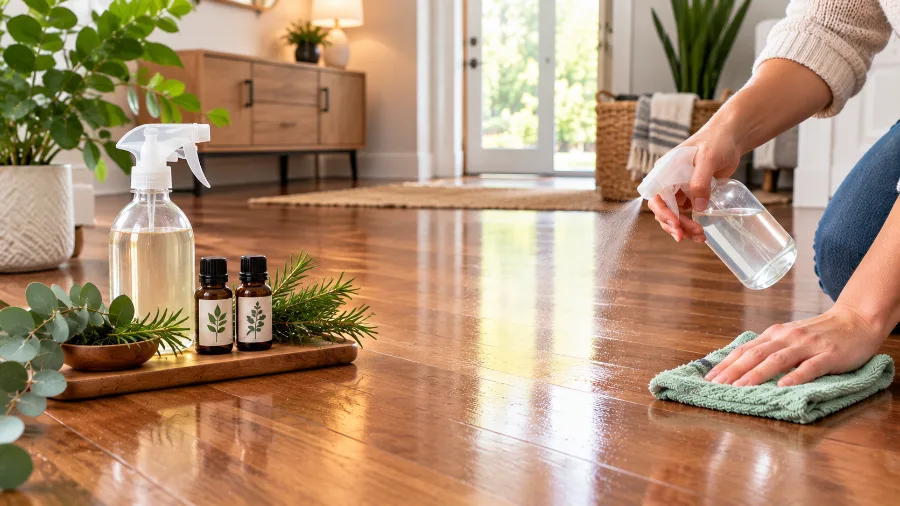
Recipe: 2 cups distilled water, 2 drops castile soap, 10 drops tea tree oil, 5 drops eucalyptus or lemon oil in a spray bottle.
Directions: Shake, mist one square metre lightly, then wipe immediately with a microfibre pad. Never spray a whole room at once.
Why it works: Tea tree oil carries genuine antimicrobial properties, which lets you sanitize high-traffic zones without bleach or ammonia. Both of those chemicals damage timber coatings permanently.
Best for: Homes with pets and toddlers, entryways, and anyone who wants to disinfect timber floors without harsh products.
Watch out: Distilled water matters here, because mineral-heavy tap water leaves spots. This disinfecting step supplements your clean rather than replacing it.
Method 8: Plain Warm Water And Microfibre (The Minimalist Approach)
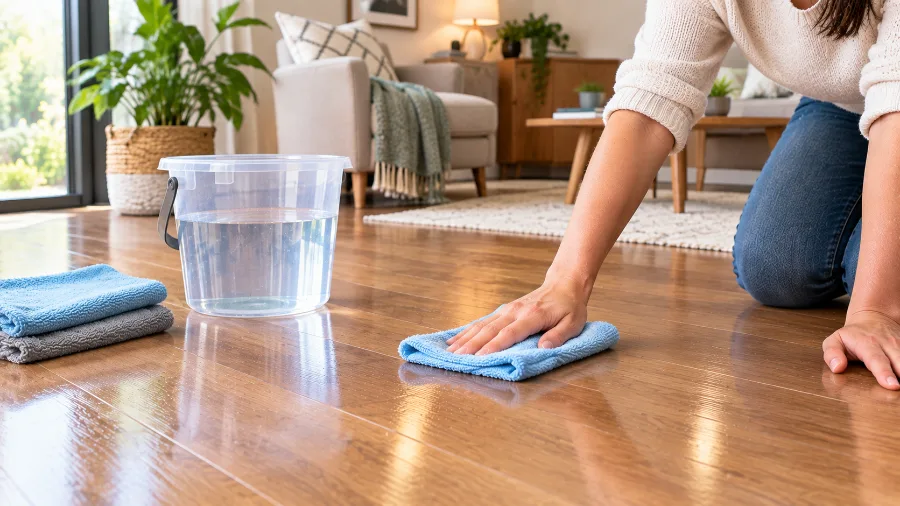
Recipe: Warm water. That is the entire list.
Directions: Wring the microfibre pad almost dry and wipe with the grain.
Why it works: Modern microfibre lifts dirt mechanically through its split-fibre structure rather than chemically. On a well-maintained sealed floor that gets vacuumed regularly, water and microfibre remove close to everything.
Best for: Floating floors, laminate, oiled timber between specialist cleans, and any floor where you want zero residue and zero risk.
Watch out: Water alone does not touch heavy kitchen grease. Rotate in Method 1 or 3 monthly.
A Note On Store-Bought Products
If you prefer a bottled product, Bona Hardwood Floor Cleaner is the pH-neutral benchmark and sits at the top of most professional recommendation lists. It leaves no residue and suits homes with pets and children. Oates Timber Floor Cleaner and Sabco Eco Clean cover the supermarket end in Australia. For oiled boards, buy a bonafide oil-finish cleaner from your floor’s manufacturer rather than a general hardwood formula, because generic cleaners strip maintenance oil.
Floor-Specific Cleaning Instructions
How To Clean Floating Timber Floors
Floating boards rely on click-lock joints, and those joints are your vulnerability. Vacuum first, then use a spray mop rather than a bucket. A spray mop gives you control over exactly how much liquid reaches the surface, which a bucket never does.
Mist lightly ahead of the pad and wipe immediately. Pay attention to the perimeter expansion gap and never push water toward skirting boards. If a board edge ever feels raised or swollen, stop wet cleaning entirely and get the floor assessed.
How To Clean Polished Timber Floors
Polished floors show every streak, so technique matters more than product. Dust daily with dry microfibre, then damp mop weekly with Method 1 along the grain.
Buff with a dry microfibre cloth straight after mopping to restore the shine. Avoid all silicone-based polishing sprays and shine restorers. They build a slippery film that ruins adhesion when the floor eventually needs recoating, and specialists then charge extra to remove it.
How To Clean Timber Laminate Floors
Laminate has a fibreboard core that swells permanently once water reaches it. Sweep or vacuum, then use a barely damp microfibre mop with Method 3 or Method 8.
Keep a dry cloth in your other hand and wipe behind the mop as you go. Laminate streaks easily, and the cause is almost always excess product rather than poor mopping.
How To Clean Engineered Timber Floors
Clean engineered boards the same way you clean sealed solid timber, with one extra caution. The wear layer is thin, so skip abrasive pads and scrubbing brushes entirely.
Vacuum, damp mop with a pH-neutral or castile solution, then dry. Engineered floors handle humidity swings better than solid timber, but the surface is still real wood and the board edges still absorb standing water.
How To Clean Raw Timber Floors
Raw timber absorbs everything instantly, so the rule is near-dry cleaning only. Dust daily with microfibre. For grime, dampen a cloth very lightly, wipe a small section, and dry it within seconds.
Treat stains with fine sandpaper along the grain rather than liquid, then follow with Method 6 to restore the surface. Honestly, if a raw floor sits in a kitchen or entryway, the practical fix is sealing or oiling it, because raw timber was never designed for high-traffic domestic use.
How To Clean Parquet Floors
Older parquet often sits on bitumen adhesive that softens with heat and moisture. Use the lightest possible damp mop and work block by block. Vacuum the joints regularly, since grit collects in the pattern lines and grinds at the block edges.
How To Clean Timber Floors Australia: Adjusting For Climate
Australian conditions change the maintenance picture more than most guides admit.
- Humid coastal zones such as Brisbane, Cairns and Darwin. Boards absorb ambient moisture and expand. Reduce mop dampness further and run ceiling fans after cleaning. Watch for cupping, where board edges rise above the centre.
- Dry inland areas and southern winters such as Melbourne, Adelaide and Canberra. Heating pulls moisture out, and boards shrink, opening small gaps. Those gaps trap grit and swallow cleaning liquid, so vacuum joints thoroughly before you mop.
- High UV exposure. Australian sunlight fades timber faster than most climates. Use sheer blinds on north and west-facing windows to slow the colour change.
- Sand and salt near the coast. Sand is the most abrasive contaminant a floor faces, and doormats inside and outside every entry cut that abrasive wear dramatically.
Removing Common Stains From Timber Floors
| Stain | Method | Notes |
| Heel scuffs | A plain tennis ball rubbed over the mark, then bicarb paste | Start with the tennis ball |
| Grease splatter | Method 3, applied warm | Dry straight away |
| Pet urine | Blot immediately, then clean with an enzymatic cleaner | Dried urine that soaked past the seal needs sanding |
| Water rings | Bicarb paste, gently, then buff | Deep dark rings mean the water passed the finish |
| Ink | Dab with rubbing alcohol on a cotton bud | Never flood the area |
| Sticky residue | Warm water and a plastic scraper | Skip metal blades and abrasive pads |
| Candle wax or gum | Chill with an ice pack in a plastic bag, lift when brittle | Do not let melting ice touch the boards |
Blot every spill instead of wiping, because wiping spreads liquid across more board surface and into more joints.
Fixing Streaks And Residue
Streaks tell you something specific about your process. Read them correctly, and the fix takes one clean.
- Streaks after every mop. Too much cleaning product. Halve the concentration.
- Cloudy white film. Soap or detergent buildup, sometimes worsened by hard water. Mop once with plain warm water, then repeat with a fresh water pass.
- Sticky patches underfoot. Product residue from acrylic polishes or shine sprays. Stop using them. A pH-neutral cleaner removes light buildup, but heavy layers need professional stripping.
- Dull patches in traffic lanes. This is finish wear rather than dirt, and no cleaner fixes it. Your floor needs a screen and recoat.
- Grey or black boards. Moisture has passed the finish and reached the timber. Stop wet cleaning immediately and get an assessment, since recoating a floor with an underlying moisture problem simply repeats the failure.
How To Clean & Maintain Timber Floors: The Complete Schedule
Consistency beats intensity. Small regular habits outperform occasional deep cleaning by a wide margin.
Daily
- Sweep or dry-dust high-traffic areas
- Wipe spills within seconds
- Leave shoes at the door, especially heels and outdoor soles
Weekly
- Vacuum the whole floor with the hard floor setting
- Damp mop with your chosen natural solution
- Shake out entry mats
Monthly
- Deep clean with Method 1 or 3, working in small sections
- Clean the perimeter, corners, and under furniture
- Check felt pads under every chair and table leg and replace worn ones
- Trim pet nails
Quarterly
- Rotate rugs and shift furniture slightly so UV fading stays even
- Inspect for cupping, gapping, and finish wear
- Vacuum floor vents and skirting board tops
- Check that indoor humidity sits between 35 and 55 percent
Annually
- Assess traffic lanes for finish wear
- Apply maintenance oil if you have an oiled floor, following the manufacturer’s instructions
- Book an inspection with a flooring specialist if the floor looks tired across large areas
Every 5 to 10 years
- Screen and recoat sealed floors before wear reaches the bare timber
- Arrange full sanding and refinishing services once recoating no longer restores the surface
Recoating at the right moment is the single highest-value maintenance decision you make. It costs a fraction of a full sand and refinish, and it only works while the finish still covers the wood. Professionals bring moisture meters, dust-controlled sanders and finish-specific knowledge, so an early assessment often saves the expense of a complete refinish later.
What Damages Timber Floors
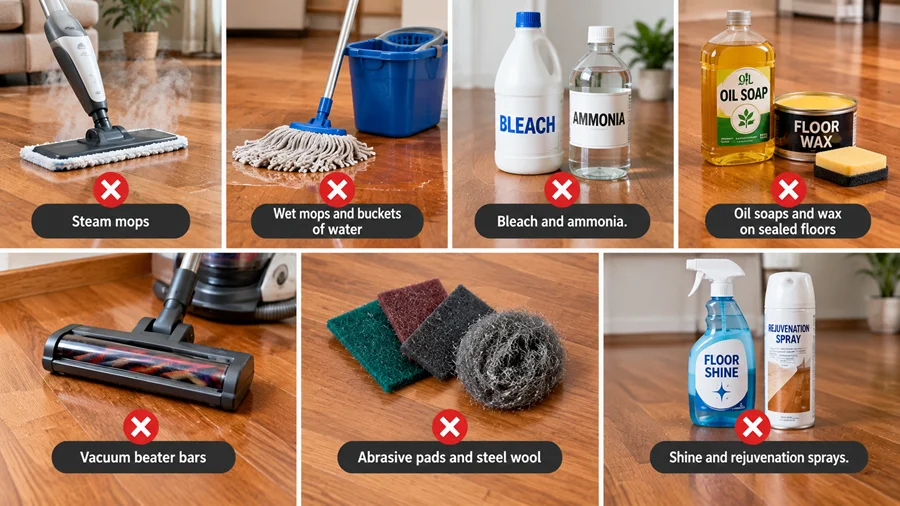
- Steam mops. Steam drives hot vapour into the timber and past the finish. Every major flooring body and manufacturer, including the NWFA and Shaw, advises against them on solid timber, engineered timber and laminate alike. The damage compounds invisibly for months before you see it.
- Wet mops and buckets of water. Standing water causes cupping, warping, gapping, and finish failure.
- Bleach and ammonia. Both attack timber coatings and weaken the wood underneath.
- Oil soaps and wax on sealed floors. They leave a film that prevents future recoats from bonding.
- Vacuum beater bars. Rotating brushes scratch the finish with every pass.
- Abrasive pads and steel wool. These cut straight through the coating.
- Shine and rejuvenation sprays. The NWFA specifically warns against restore-and-renew products unless your manufacturer recommends them.
Frequently Asked Questions
How often should I mop timber floors?
Weekly damp mopping suits most homes. Busy households with pets and children can mop twice weekly, provided you keep the mop barely damp. Sweep daily regardless of how often you mop.
Can I use vinegar on timber floors?
On intact polyurethane, occasionally and heavily diluted, yes. As a weekly cleaner, no. Never on oiled, waxed, or raw timber.
Is Bona good for timber floors?
Yes. It is pH-neutral, leaves no residue, and suits sealed timber and engineered boards. Check that you buy the correct formula for your specific finish type.
Can I use a steam mop on timber?
No. Heat combined with moisture is the worst possible pairing for wood, and the harm reaches the timber long before it shows on the surface.
Why do my floors look dull after cleaning?
Either product residue or finish wear. Try two plain water passes first. If the dullness stays and sits in traffic lanes, the finish has worn through, and the floor needs recoating.
How do I disinfect timber floors safely?
Use the tea tree spray in Method 7, or a pH-neutral cleaner with antimicrobial properties. Skip bleach entirely.
Can I use a wet Swiffer or similar wet pad?
Only on sealed floors, and only if the floor dries within two minutes. Dry microfibre pads are safer for daily use.
The Bottom Line
Good timber floor care comes down to discipline rather than products. Identify your finish, remove grit before liquid ever touches the boards, keep your mop barely damp, and dry the surface fast. Choose the natural method that matches your floor rather than the one that sounds most appealing.
Do that consistently, and your timber floors will still look excellent a decade from now, with nothing more exotic in your cupboard than castile soap, microfibre, and a bit of patience.