
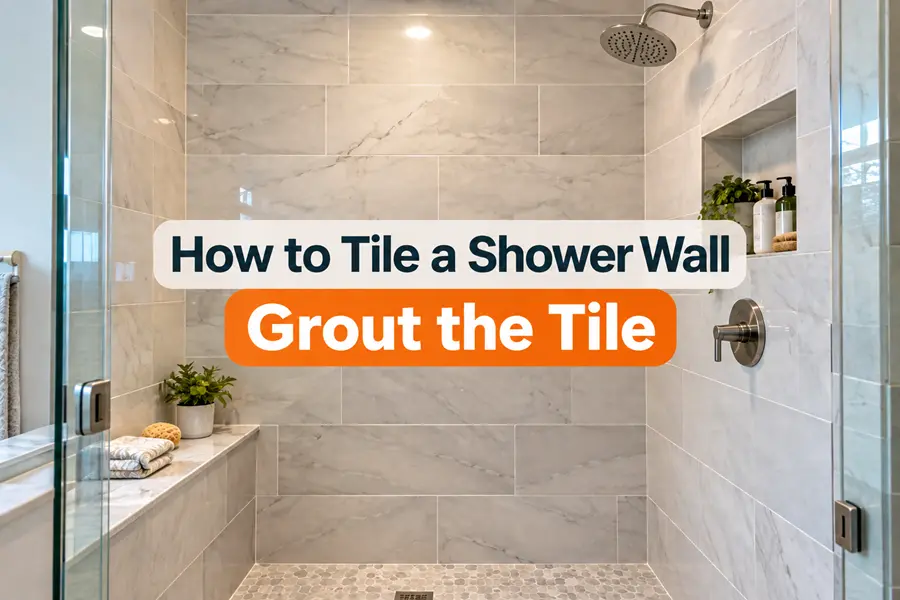
Tiling a shower wall is a weekend-plus project most handy DIYers can finish in 3 to 5 days, as long as you don’t skip waterproofing or layout. I’ve learned both of those the hard way, and this guide by Nova Floor team shows you every step with photos so you don’t have to.
Contents
How to Tile a Shower Wall: At a Glance
- Protect the tub or shower pan.
- Remove old tile and wallboard down to the studs.
- Install cement board, screwed into studs.
- Waterproof every seam, screw and corner.
- Plan the layout so cuts are balanced and no slivers remain.
- Screw a level ledger board one tile up from the tub.
- Spread thinset, back-butter, and set tiles with spacers.
- Make cuts around valves, corners and edges.
- Grout once the thinset has cured.
- Caulk the change-of-plane joints and seal the grout.
Where do you start tiling a shower wall?
Start on the back wall, one full tile above the tub’s highest point, sitting on a level ledger board. Don’t start on the tub edge itself, because tubs are rarely level and your rows will drift as you go up.
Tools and Materials You’ll Need
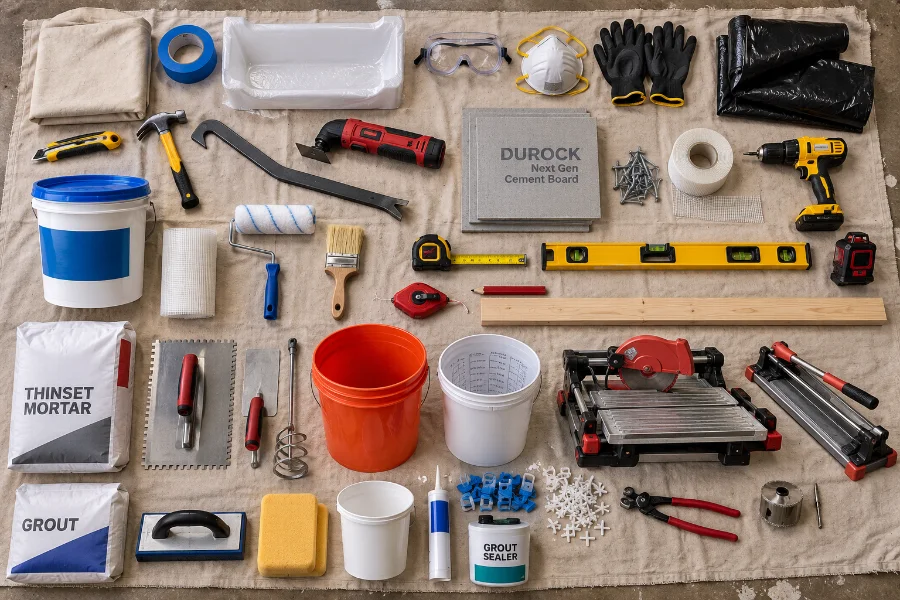
Gather everything before demo day so you aren’t running to the store with a half-open wall.
| Category | Items |
| Protection | Drop cloth or cardboard, painter’s tape, tub protector, safety glasses, dust mask, gloves |
| Demo | Utility knife, hammer, flat bar, oscillating tool, contractor bags |
| Wall prep | Cement board (e.g. Durock Next Gen), cement board screws, alkali-resistant mesh tape, drill/driver |
| Waterproofing | Liquid waterproofing membrane, reinforcing fabric for corners, paint roller and brush |
| Layout | Tape measure, 4 ft level, laser level (optional), chalk line, pencil, straight 1×3 or 1×4 ledger board |
| Setting | Thinset mortar (rated for your tile size), notched trowel, margin trowel, mixing paddle, buckets, spacers, leveling wedges or clips |
| Cutting | Wet saw or manual tile cutter, tile nippers, hole saw for valve and shower arm |
| Finishing | Grout, grout float, sponges, bucket, 100% silicone caulk, grout sealer |
Step 1: Protect the Tub
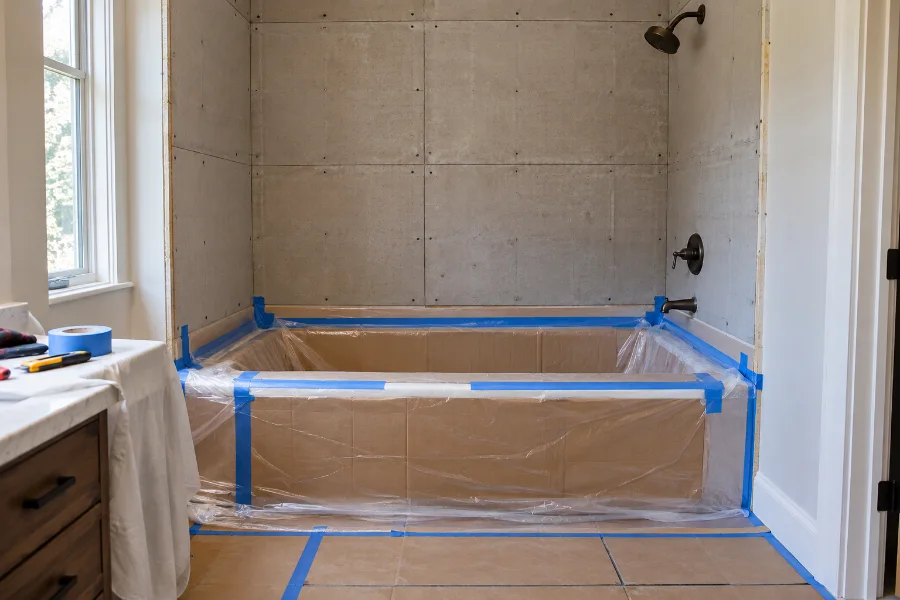
Cover the tub before you touch the wall, even if you’re only re-tiling. Early in my career I skipped this to save ten minutes, a few tile shards dropped in, and the tub ended up full of tiny chips. The repair cost me several hundred dollars.
- Lay cardboard or a padded tub protector in the basin.
- Tape plastic over the tub edge and the drain.
- Keep the cover on through grouting, which is the messiest step.
Step 2: Remove the Old Tile and Wallboard
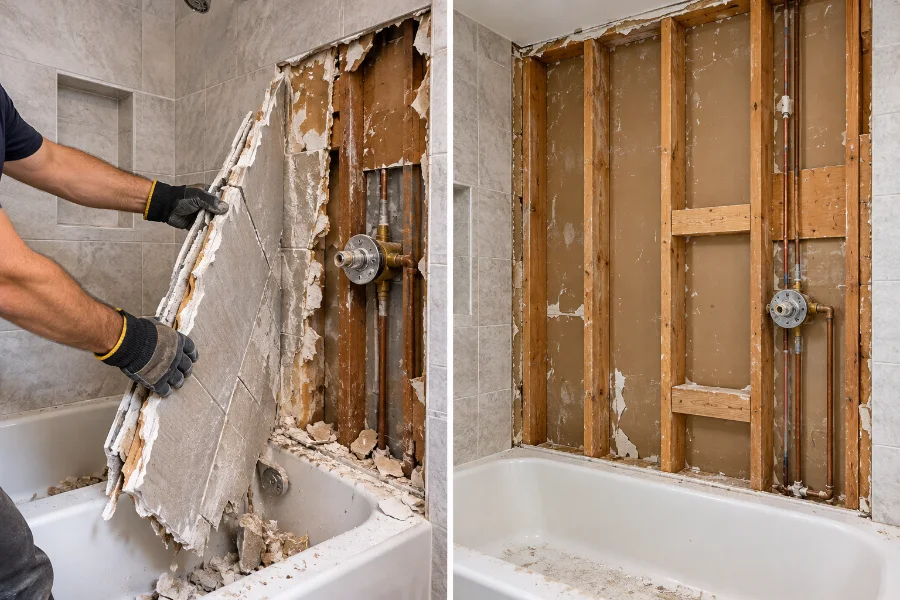
The fastest demo is cutting the wall out in panels instead of chipping tile off one piece at a time. Score the wallboard between studs, then pull each section out with the tile still attached.
- Shut off water and remove the valve trim, shower arm and spout.
- Wear eye protection and a dust mask; broken tile is sharp.
- Pull every old nail and screw, and check studs for rot or water damage.
- Make sure studs are flat: shim low ones and plane high ones now, because the tile will show every bump.
Step 3: Install the Cement Board
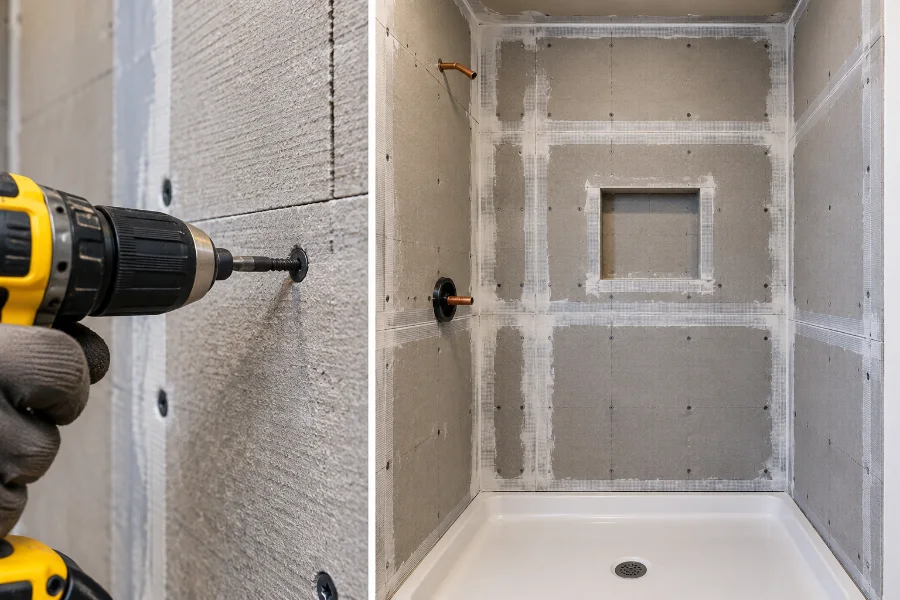
Cement board gives tile a stable base that won’t break down if moisture gets behind it. I use Durock Next Gen because it scores cleanly with a utility knife and doesn’t crumble.
- Install a vapor barrier behind the board only if your waterproofing system calls for it; never combine a plastic barrier with a surface membrane unless the manufacturer allows it.
- Hold the bottom edge about 1/4 in. above the tub flange so the board doesn’t wick water.
- Screw into every stud with cement board screws, spaced per the manufacturer (typically about 8 in.).
- Cover seams with alkali-resistant mesh tape and a thin coat of thinset.
- Cut holes for the valve and shower arm with a hole saw or by scoring and knocking out.
Step 4: Waterproof the Shower Walls
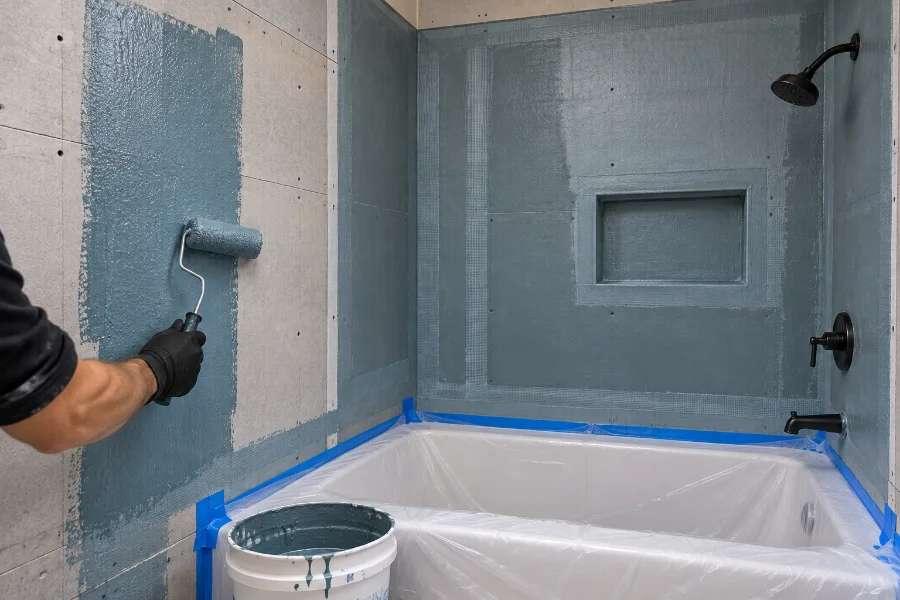
Don’t skip this, even on a tub surround. Cement board is water-resistant, not waterproof, and moisture that gets behind it will slowly rot studs and loosen tile.
- Reinforce inside corners, seams and the tub joint with fabric embedded in the membrane.
- Roll on the liquid membrane in the number of coats the manufacturer specifies, usually two.
- Watch the color change: most membranes darken or turn solid when the coat is thick enough.
- Let it fully cure before tiling, per the label.
Step 5: Plan the Tile Layout
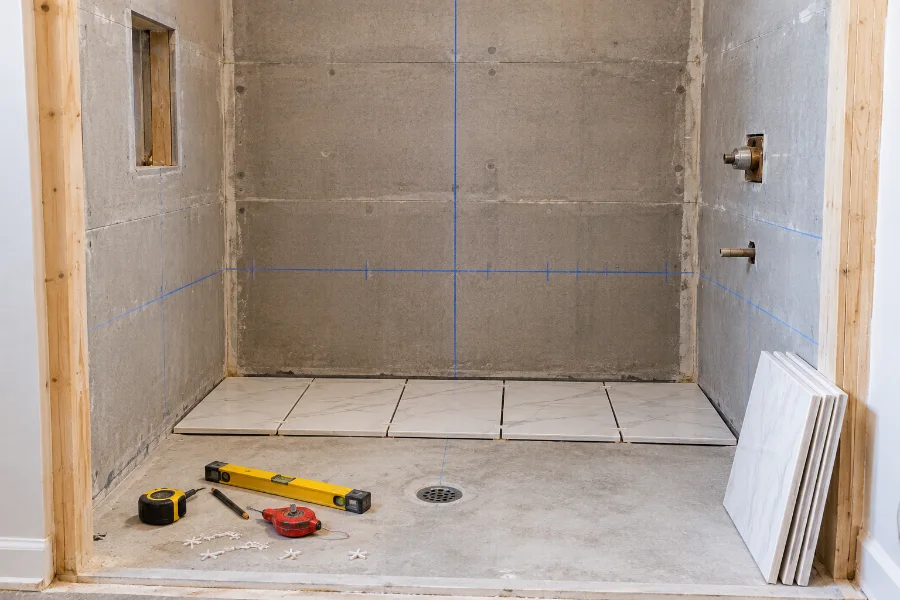
Layout decides whether the job looks professional, so take your time here. My first shower wall had no lines and no measuring, and it was a disaster.
- Find the center of the back wall and snap a vertical line.
- Dry-lay a row of tiles with spacers on the floor to see where the corner cuts land.
- If the end pieces are smaller than half a tile, shift the layout half a tile so both corners get equal, wider cuts.
- Check the top too: aim for a full or near-full tile at the ceiling or the top of the tiled area.
- Mark where the valve and shower arm fall, and avoid a grout line running through the middle of them if you can.
Step 6: Set a Level Ledger Board
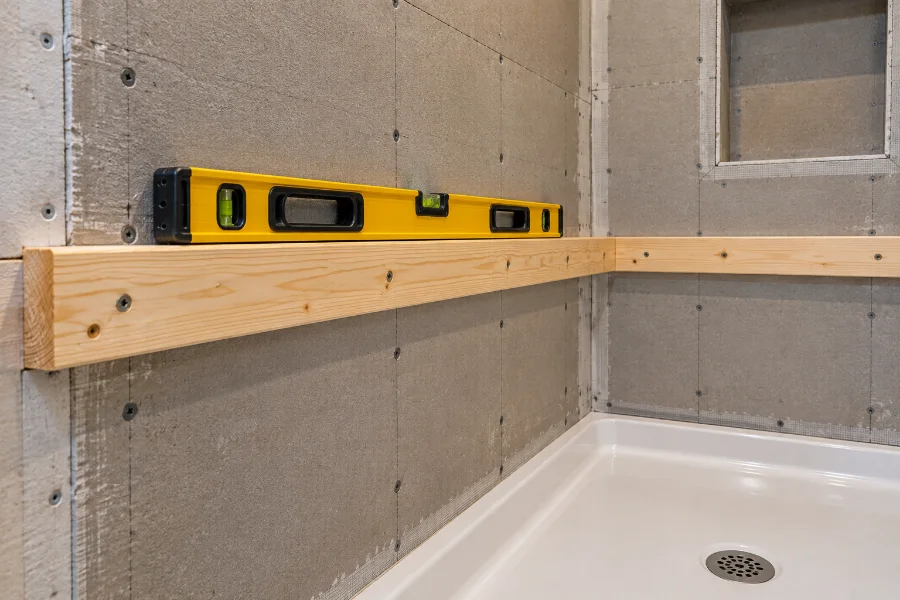
Tubs are almost never perfectly level, so starting your first row on the tub edge makes every row above it crooked.
- Find the highest point of the tub edge.
- Measure up one full tile plus a grout joint and draw a level line around all three walls.
- Screw a straight 1×3 or 1×4 along that line into the studs.
- Seal the screw holes with membrane after you remove the board later.
Step 7: Spread Thinset and Set the Tile
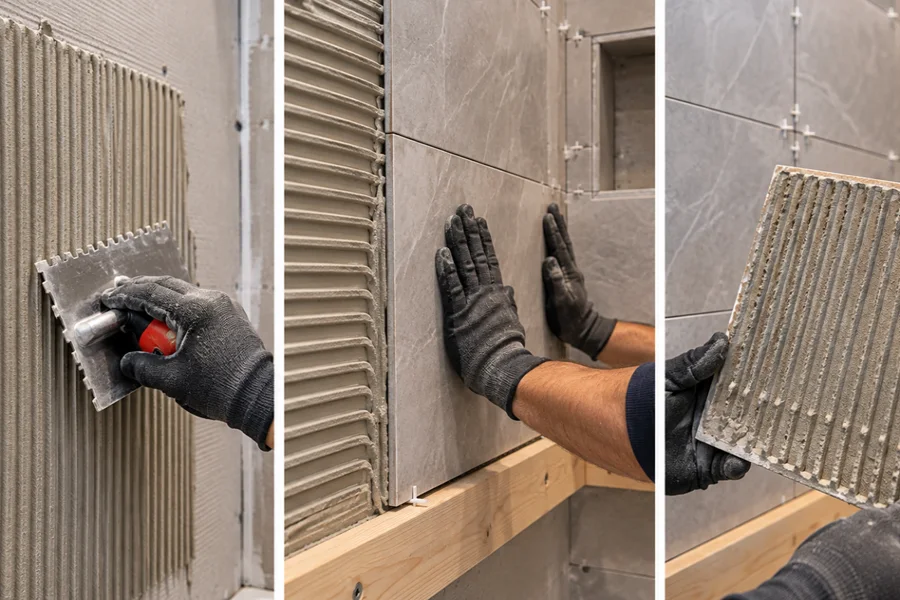
This is where your prep pays off. Mix thinset to a peanut-butter consistency: too dry and tiles won’t bond, too wet and they’ll slide.
- Use the trowel notch size recommended for your tile size and thinset.
- Key thinset into the wall with the flat side, then comb it with the notched side in straight lines.
- Back-butter larger tiles with a thin, flat coat.
- Press each tile in and slide it slightly across the ridges to collapse them.
- Pull a tile now and then to check coverage on the back.
- Use spacers and leveling clips to keep joints even and edges flush.
- Work back wall first, then the side walls, from the ledger up.
- Clean thinset out of grout joints before it hardens.
Step 8: Cut Tile Around Corners and Fixtures
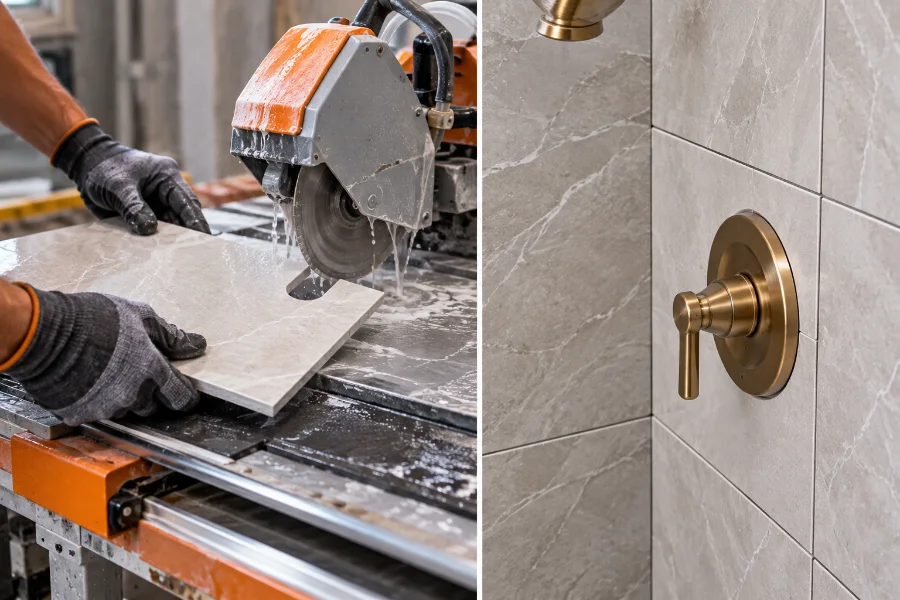
Measure each cut piece where it will go rather than assuming the wall is square.
- Use a wet saw for straight cuts and L-cuts, and a hole saw for valve and shower-arm openings.
- Leave a small gap in inside corners for caulk instead of grout.
- Do your cuts for a section before mixing the next batch of thinset so it doesn’t skin over.
- After the field tile cures, remove the ledger board and set the bottom row, leaving a gap at the tub for caulk.
Step 9: Grout the Tile
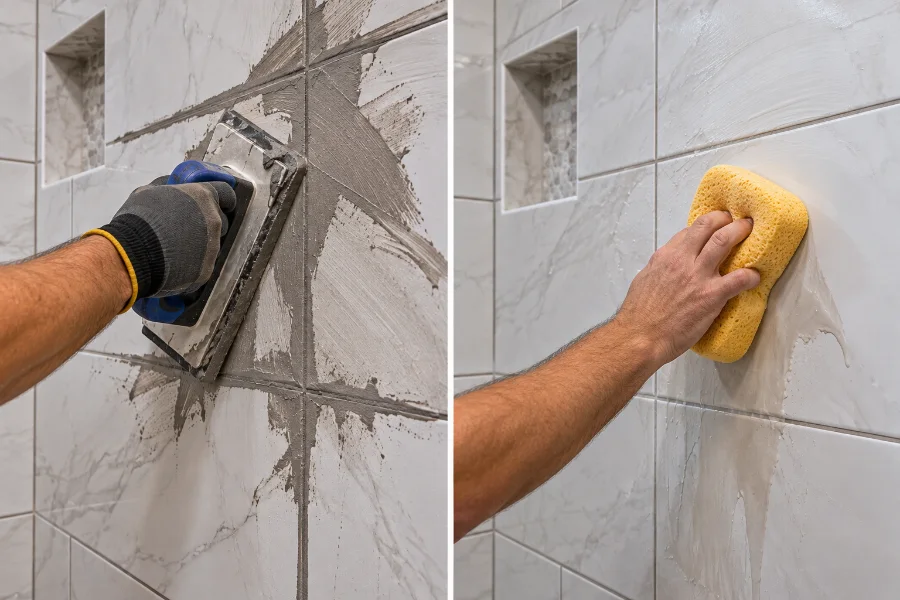
Wait until the thinset has cured for the time on the bag, usually at least 24 hours, then pull the spacers and clips. Keep the tub covered, because this is the messiest step.
- Mix only half a bag at a time; grout stiffens quickly in the bucket.
- Never add more water once it’s mixed. It weakens the grout and can change its color. Re-stir it with a margin trowel instead.
- Hold the float at about 45 degrees and push grout diagonally across the joints.
- Skip grout in inside corners and along the tub; those get caulk.
- Once the grout firms up, wipe diagonally with a damp, well-wrung sponge, rinsing often.
- Buff off the haze with a dry cloth after it dries.
Step 10: Caulk and Seal
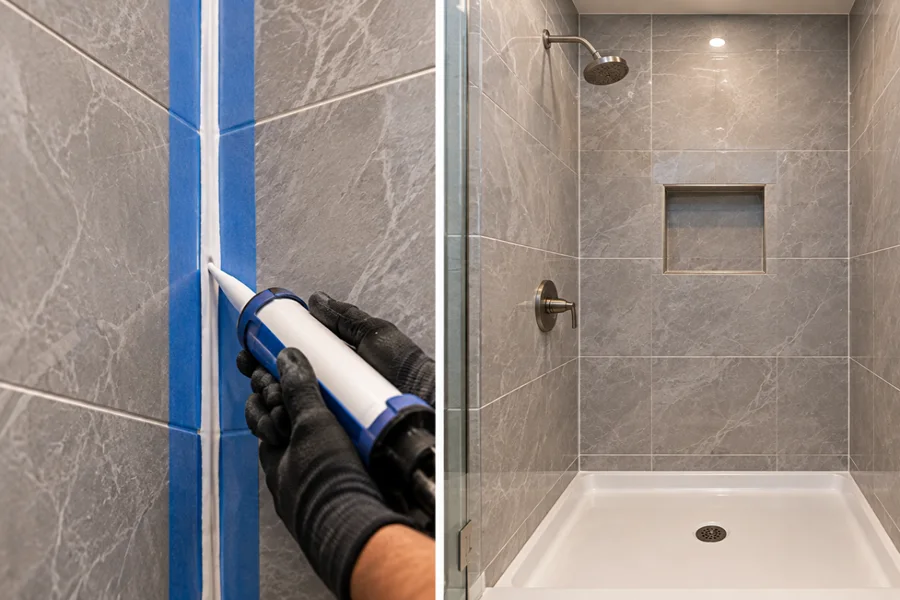
Anywhere two surfaces meet at an angle, they move slightly, and grout will crack there. Silicone caulk flexes instead.
- Caulk inside corners and the joint where tile meets the tub with 100% silicone in a matching color.
- Tape both sides of the joint for a clean line, tool the bead, and pull the tape right away.
- Seal cement-based grout once it has cured, per the sealer’s instructions.
- Reinstall the valve trim, shower arm and spout, then wait for the caulk to cure before the first shower.
How Long Does It Take?
Plan on 3 to 5 days for a standard tub surround, mostly because of cure times. These are rough DIY estimates; add your own numbers from real jobs.
| Task | Typical time |
| Protect tub and demo | Half a day |
| Cement board and seams | Half a day to 1 day |
| Waterproofing and cure | 1 day (check label) |
| Layout and ledger | 2 to 3 hours |
| Setting tile | 1 to 2 days |
| Grout, caulk and seal | 1 day plus cure time |
Common Mistakes to Avoid
- Skipping waterproofing because “it’s only a tub surround.”
- Starting the first row on an unlevel tub edge.
- Leaving thin slivers in the corners instead of balancing the layout.
- Adding water to grout or thinset after mixing.
- Grouting corners and the tub joint instead of caulking them.
FAQ’s
Can I tile directly over drywall in a shower?
No. Regular drywall breaks down when it gets wet. Use cement board or a foam board system made for wet areas, plus waterproofing.
Do I need to waterproof cement board?
Yes. Cement board won’t fall apart when wet, but water passes through it to the studs. A membrane stops that.
Should I start tiling at the top or bottom of the wall?
Start from a level ledger board one tile above the tub, work up, then fill in the bottom row last.
How long should thinset cure before grouting?
Usually at least 24 hours, but follow the instructions on your specific product.
Do I grout or caulk the corners?
Caulk them. Inside corners and the tub joint move, and grout there will crack.