

Does one floorboard in your home creak louder than the others? That single noise can make a quiet home feel disturbing. Most squeaks happen because of loose boards, dry wood, or gaps that develop over time. The good news is that almost every squeaky floor has a simple solution.
This guide by NOVA FLOOR explains the real causes of squeaky floors in simple words. Dubai’s changing humidity is one of the main reasons wood floors expand, shrink, and creak. It also explains easy fixes you can try yourself, along with signs that show when to call a professional.
Why Your Floor Is Squeaking | Common Causes
Many parts inside a floor structure can create that familiar creaking sound. Each cause below connects to a different floor problem. Finding the exact cause helps you choose the right fix later. The causes of squeaky floors usually come from these common issues.
Friction Between Adjacent Boards
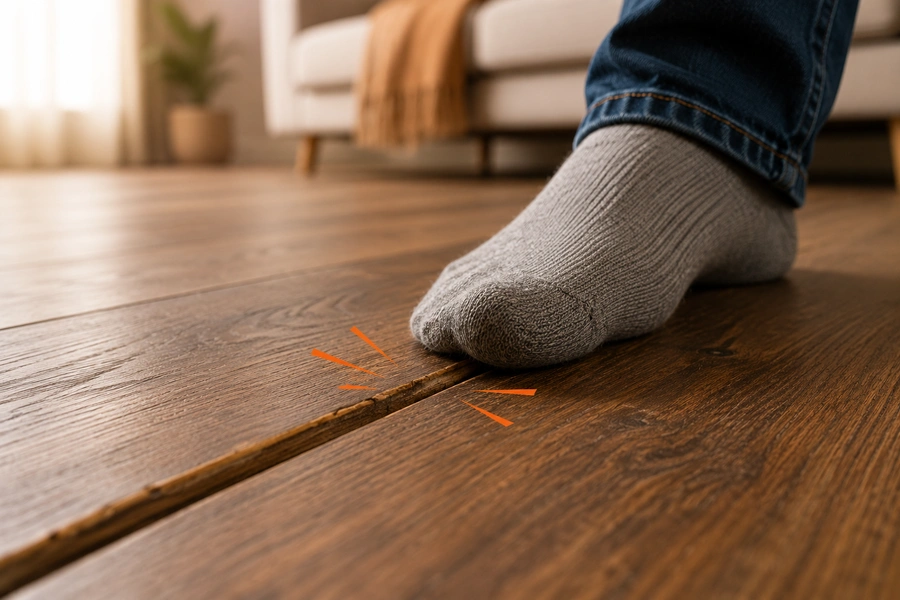 Two boards placed close together can rub with each step. This rubbing creates the sharp sound you notice underfoot. Rough or damaged edges make the friction stronger over time.
Fasteners That Have Worked Loose
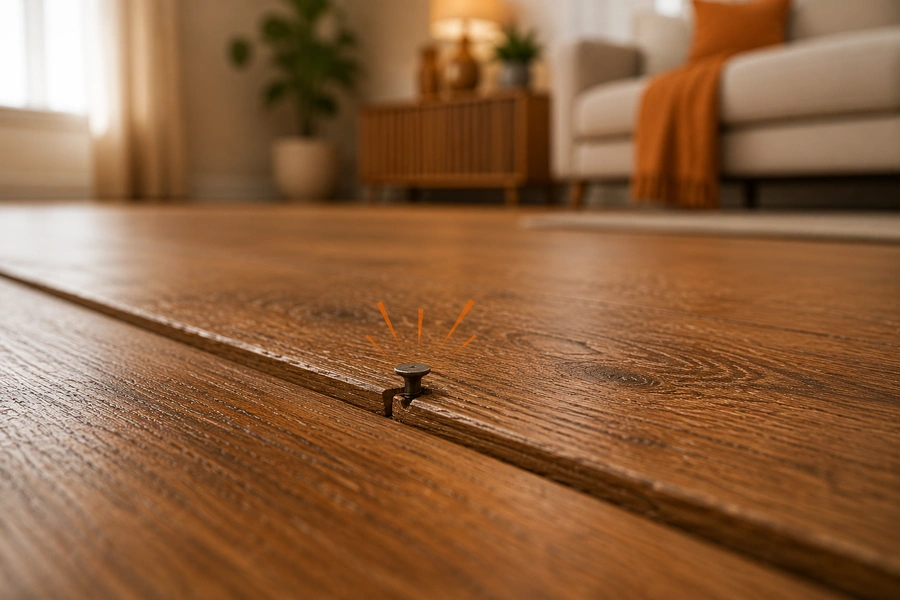 Nails and screws that hold boards can become loose after years of use. A loose fastener allows the board to move slightly under weight. This small movement creates the squeak you hear.
Small Gaps Between the Subfloor & Joists
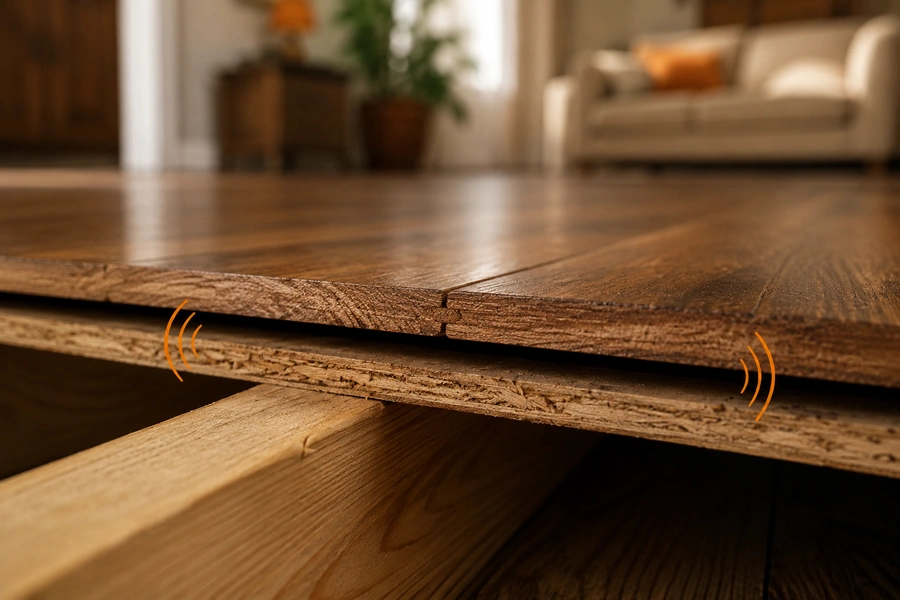 Wood naturally moves away from surfaces when moisture levels decrease. This movement creates small gaps between the subfloor and joists below. Foot pressure pushes the boards into these open spaces.
Joist Spacing That’s Wider Than Ideal
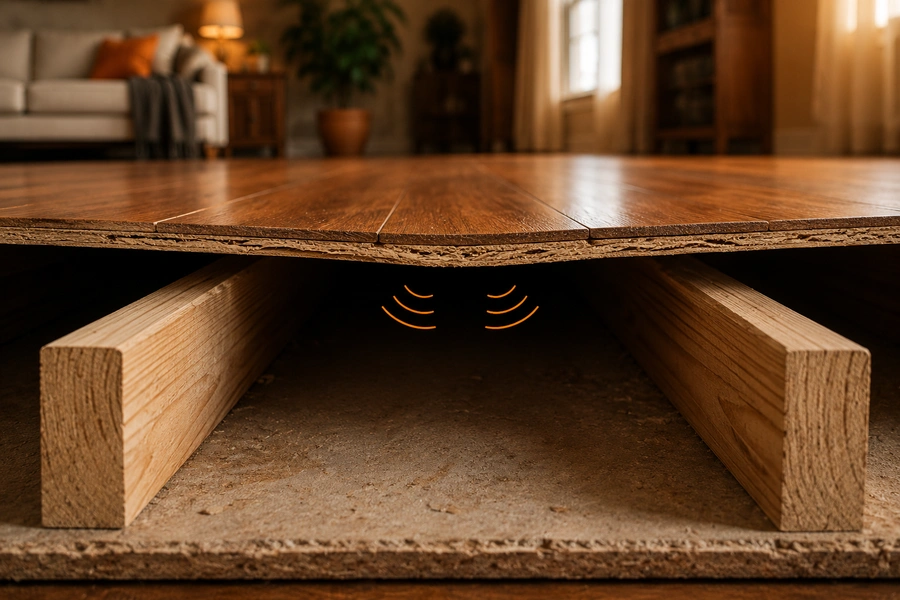 Some floors have joists placed farther apart than needed. Wider spacing gives each board less support underneath. Extra movement in these areas often creates repeated noise.
Seasonal Humidity Changes
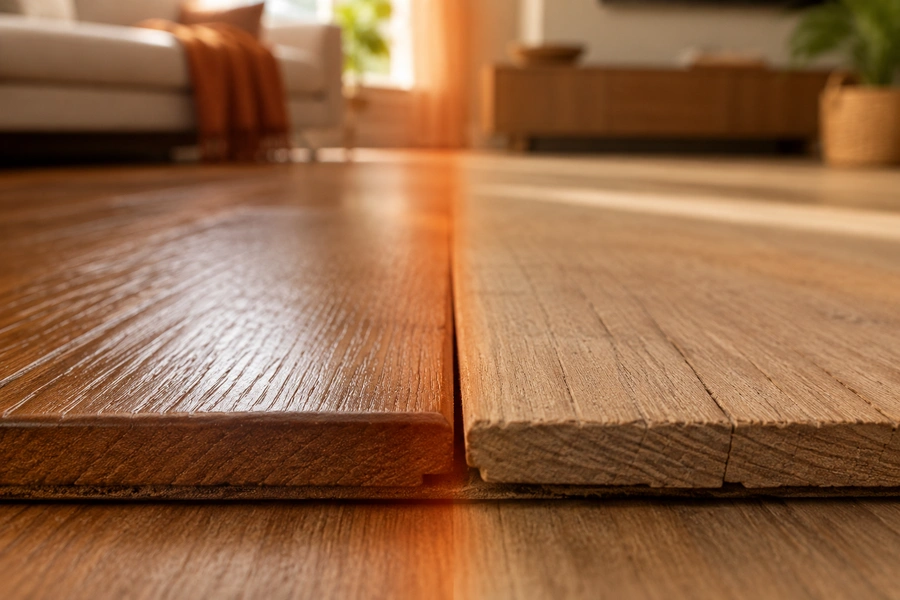 Dubai’s climate changes between humid and dry conditions throughout the year. Wood takes in moisture during humid months and releases it during dry months. This repeated expansion and shrinking slowly loosen boards. Engineered wood options handle these humidity swings more predictably than solid wood, since their layered core resists the same level of movement.
Subfloor Installed With Too Few Fasteners
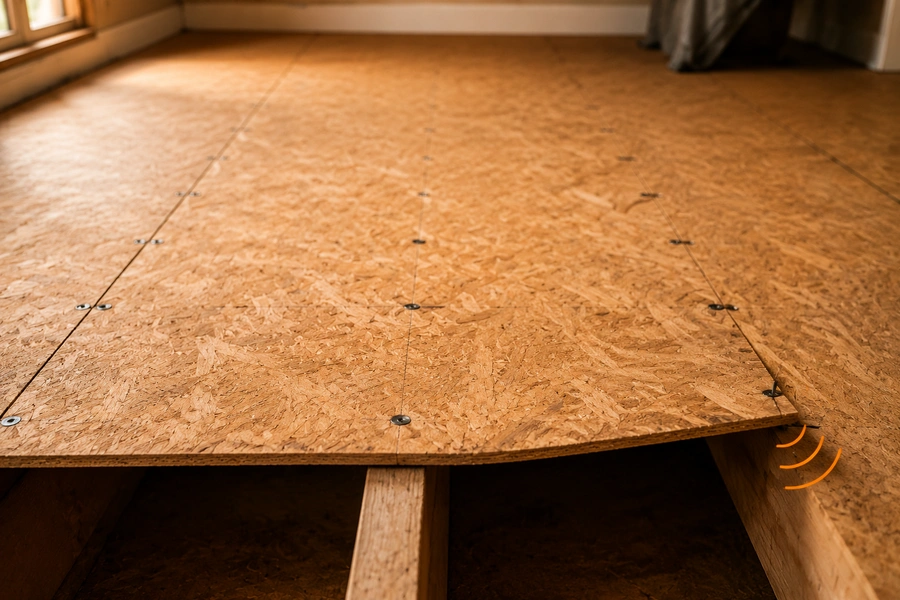 A subfloor with fewer nails or screws can leave weak areas. Small movements appear at these unsecured points over time. These weak spots can later become squeaky areas.
An Uneven Base Beneath the Flooring
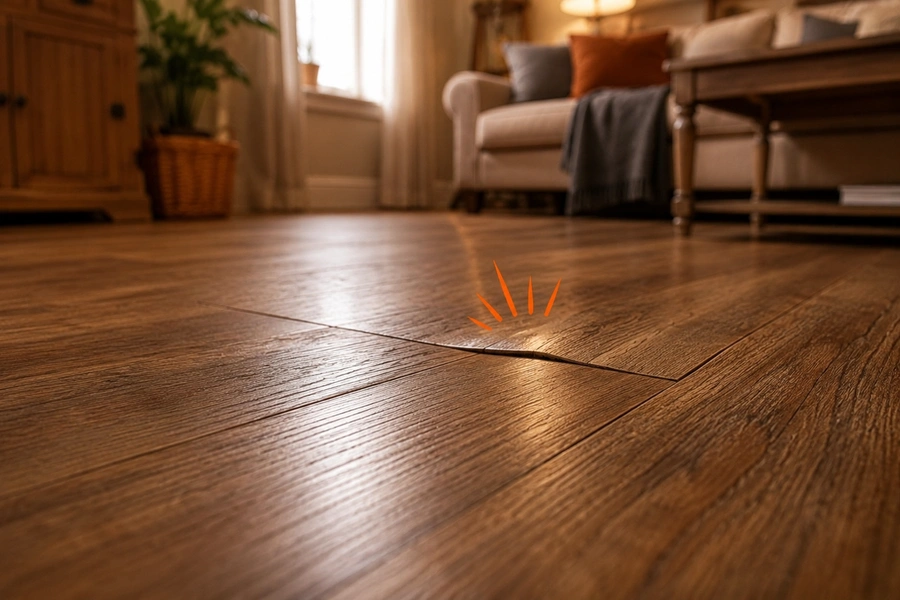 A subfloor that is not level puts uneven pressure on the boards. Some sections carry more weight during daily activities. This uneven pressure creates a squeak in one specific area.
Contact Between Floorboards & Nearby Pipes
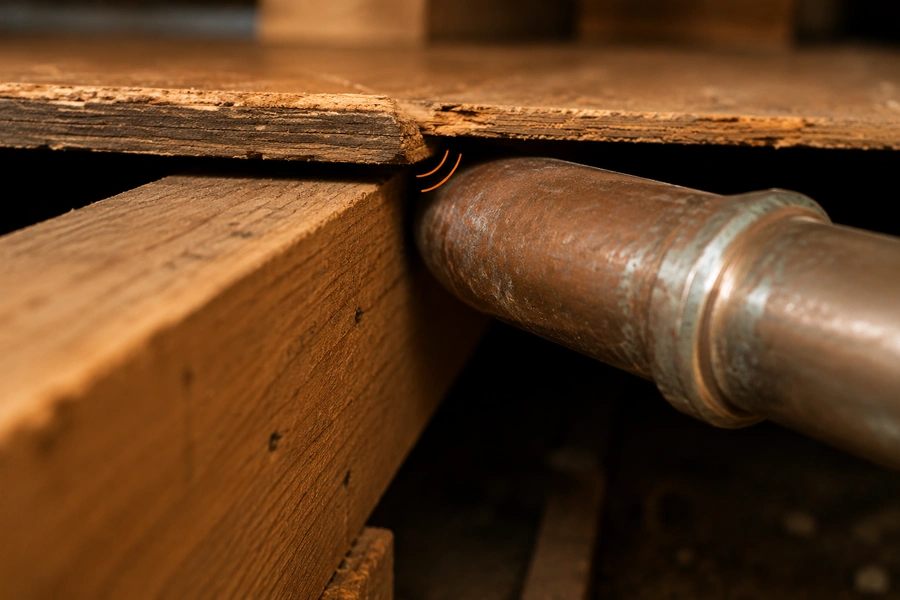 Pipes near or under the floor can sometimes touch the boards. Normal floor movement brings wood against metal surfaces. This contact often creates a sharper and clearer sound.
How to Find Where the Squeak Is Coming From
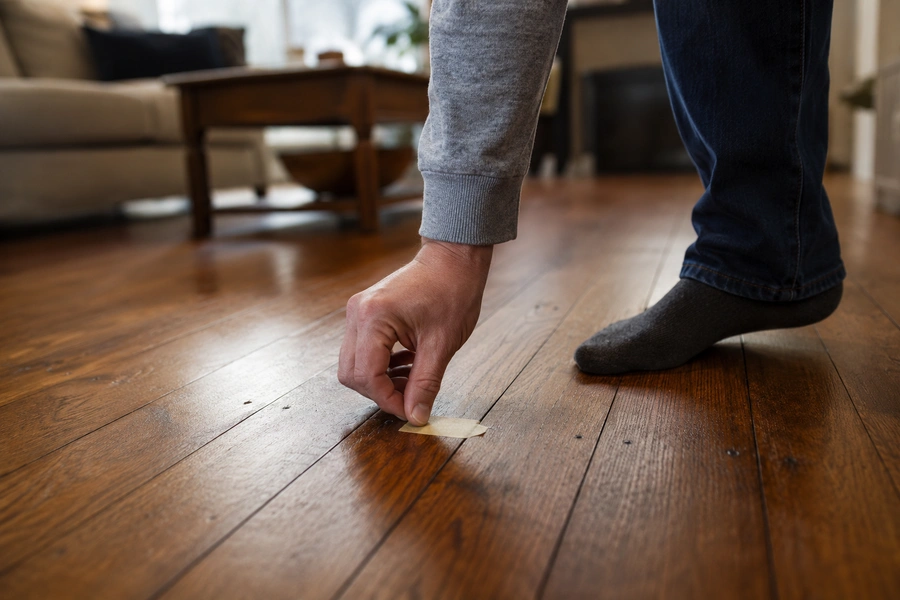 Before using any fix, you need to find the exact place where the noise starts. A wrong guess can waste time and leave the real issue unsolved. Finding the source of a squeaky floorboard only needs a few simple steps.
- Walk the floor and mark the spot: Move slowly across the room and stop when you hear the creak again. Mark that exact area with tape or a pencil line.
- Press down instead of only stepping: Put your weight on the marked area and press down firmly. A louder squeak shows that the board may be loose there.
- Check the same spot from below: Ask someone to walk over the marked area while you check from underneath. This method works only if a basement or crawl space is available.
- Look for movement, not only sound: Some boards move slightly before making a clear noise. Place your hand near the marked area and check for any movement.
- Note every squeaky area before moving forward: A floor can have multiple problem spots. Mark each location separately instead of checking only the first one.
8 Ways to Fix a Squeaky Floor
After finding where the noise starts, choosing the right fix becomes much easier. These eight proven ways to fix squeaky floors match different causes. Each method includes the tools you need and the correct steps to follow.
1. Sprinkle in Graphite or Talcum Powder
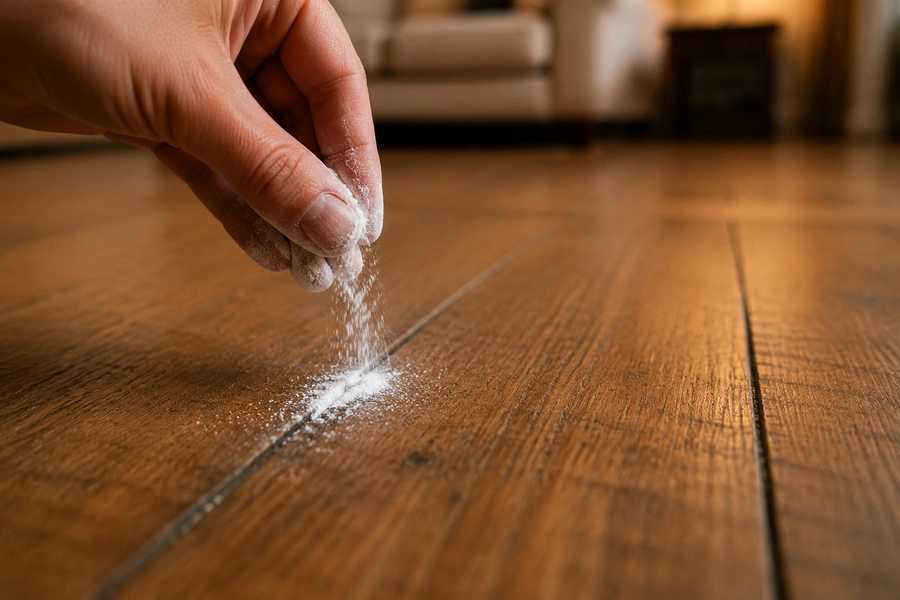 This method works well when two boards rub against each other. It suits floors where the noise comes from the surface rather than below. No drilling or heavy tools are needed for this repair.
What you need: Powdered graphite or talcum powder, a putty knife, and a dry cloth.
Place a small amount of powder into the gap between the boards.
The edge of a putty knife helps push the powder into the seam.
A dry cloth removes any extra powder from the surface.
2. Rub in Liquid Wax or Mineral Oil
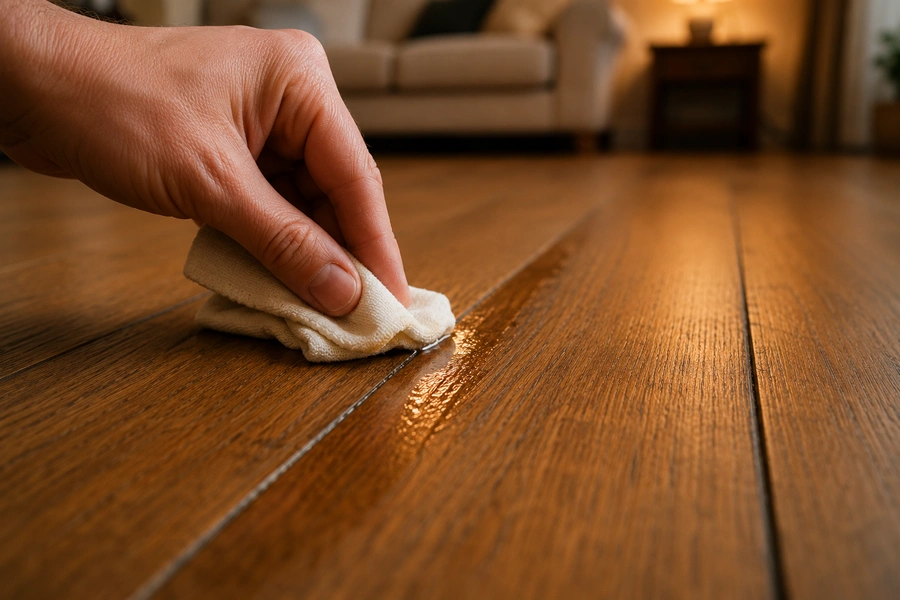 This option works best on wood floors finished with wax. It reduces the same surface friction as powder but suits waxed floors better. A quick finish check helps prevent using the wrong product.
What you need: Liquid wax or mineral oil and a soft cloth.
- Spread a small amount of wax or oil along the noisy seam.
- Allow the liquid to soak into the wood.
- Use a clean cloth to remove any extra residue from the surface.
3. Wedge a Shim Under the Floor
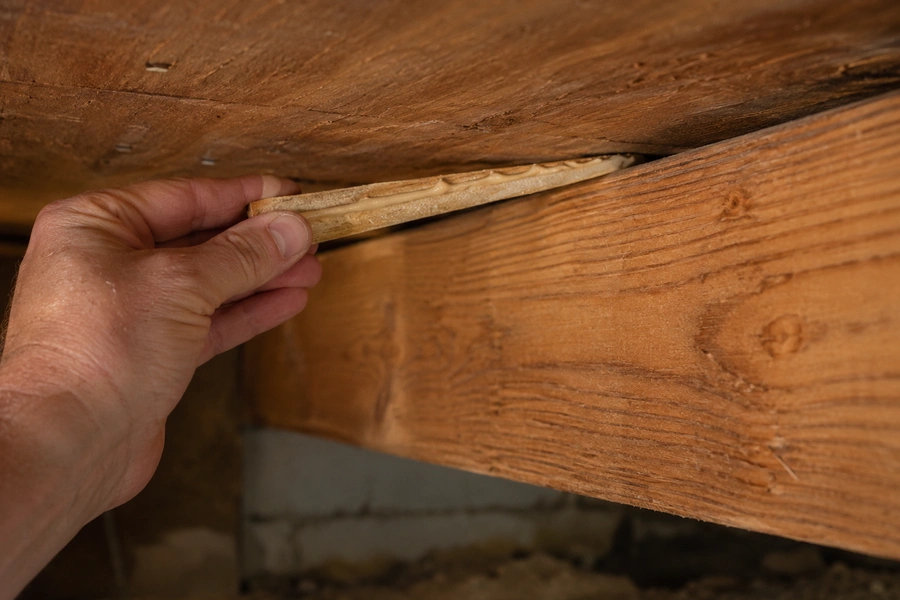 This fix works for a gap between the subfloor and a joist. It needs access below the floor through a basement or crawl space. A tight shim closes the gap and reduces floor movement.
What you need: A thin wood shim and carpenter’s glue.
- A light coat of carpenter’s glue goes onto the shim first.
- The shim slides into the gap until it fits tightly.
- Gentle pressure prevents the shim from raising the floor.
4. Glue the Gap With Construction Adhesive
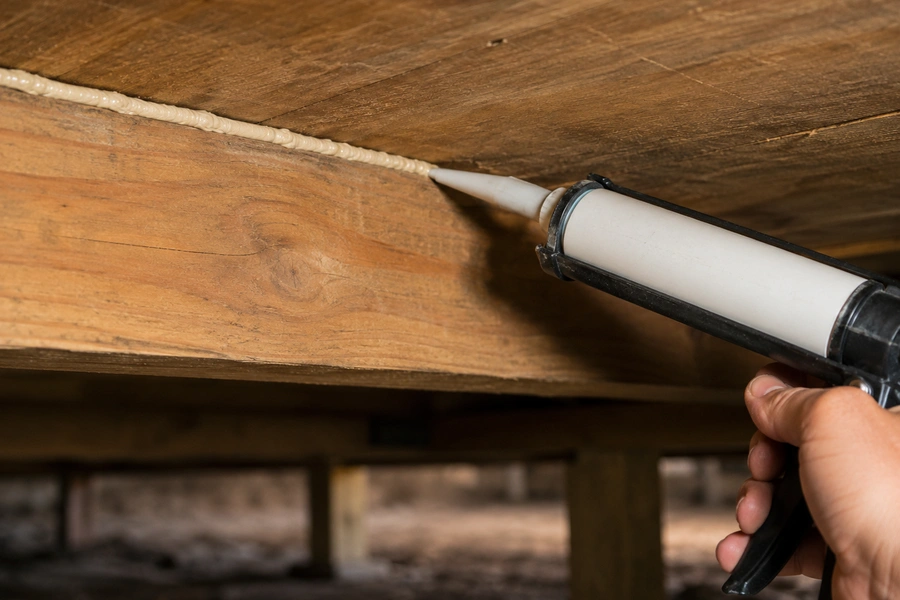 This method works for a gap that is too wide for a shim. It also needs access from below the floor. The adhesive joins the subfloor and joist into one solid piece.
What you need: Construction adhesive and a caulking gun.
- Construction adhesive fills the space between the subfloor and joist.
- Firm pressure holds both surfaces together after application.
- Full drying time is important before using the floor again.
5. Screw the Subfloor Down From Below
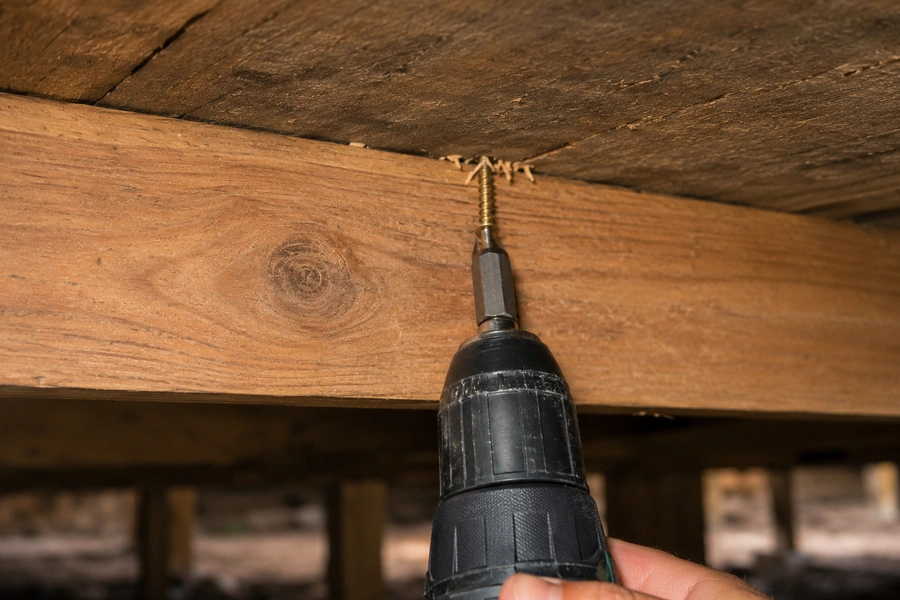 This fix works when the subfloor has pulled away from the joist. A wood screw pulls both surfaces back together securely. Access from below makes this a long lasting repair.
What you need: A drill, wood screws, and a basement or crawl space.
- A pilot hole goes through the subfloor into the joist above.
- A wood screw tightens until the subfloor feels secure.
- A final check from above confirms the squeak is gone.
6. Screw the Floorboard Down From Above
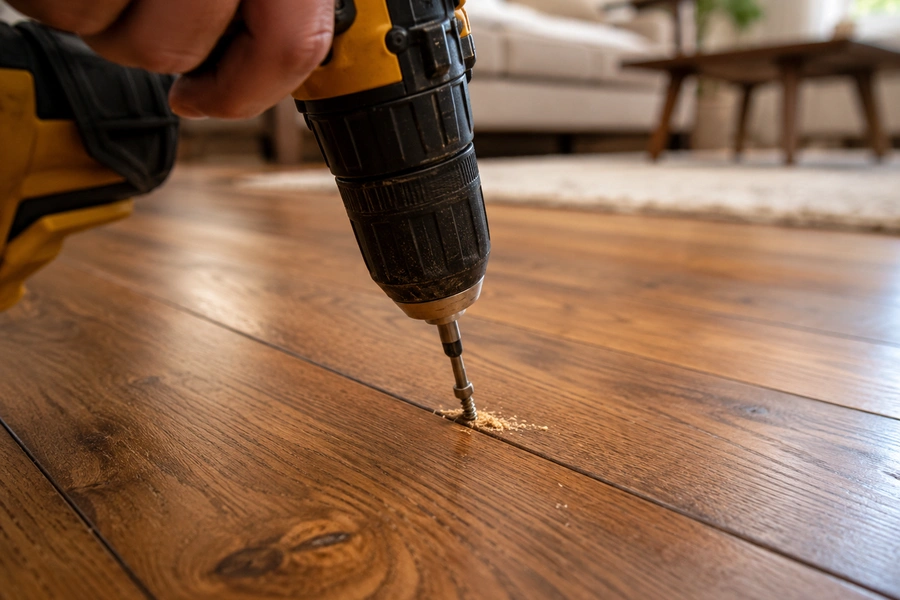 This method suits homes without access below the floor. The repair happens through the top surface only. Matching wood filler helps hide the repair mark.
What you need: A drill, trim screws, and wood filler that matches the floor color.
- A pilot hole goes through the floorboard into the subfloor at an angle.
- A trim screw sits slightly below the floor surface.
- Matching wood filler covers the hole after the screw is secure.
7. Brace Loose Joists With Blocking
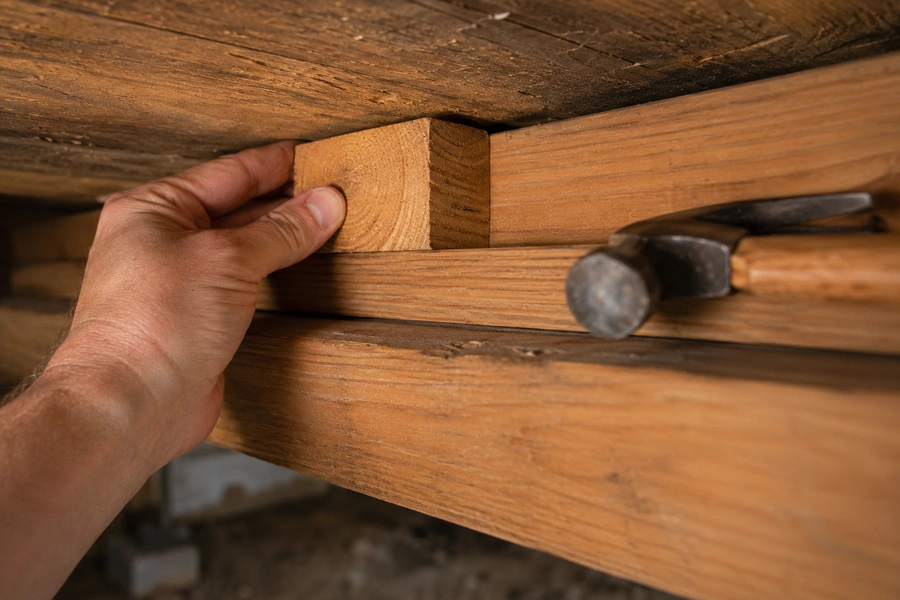 This fix works when joists move too much during daily use. A wood block adds extra support between nearby joists. Better support reduces movement across a larger area.
What you need: A short wood block, nails or screws, and a saw.
- A wood block is cut to fit between two nearby joists.
- The block fits against the area with the most movement.
- Nails or screws hold the block firmly in place.
8. Flatten an Uneven Subfloor With Leveling Compound
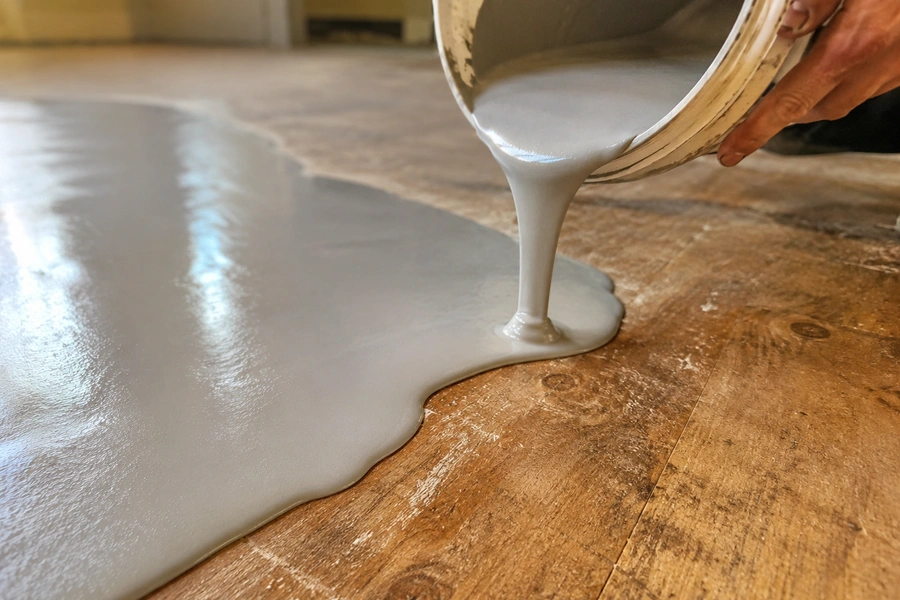 This method works when an uneven base causes the noise. A level surface gives new flooring proper support. This repair usually needs more time to dry than other methods.
What you need: Self-leveling compound, a mixing bucket, and a trowel.
- The compound is prepared by following the package instructions.
- The mixture spreads over the lower area of the subfloor.
- Complete drying is needed before installing any flooring material.
Fixing Squeaks in a Carpeted Room
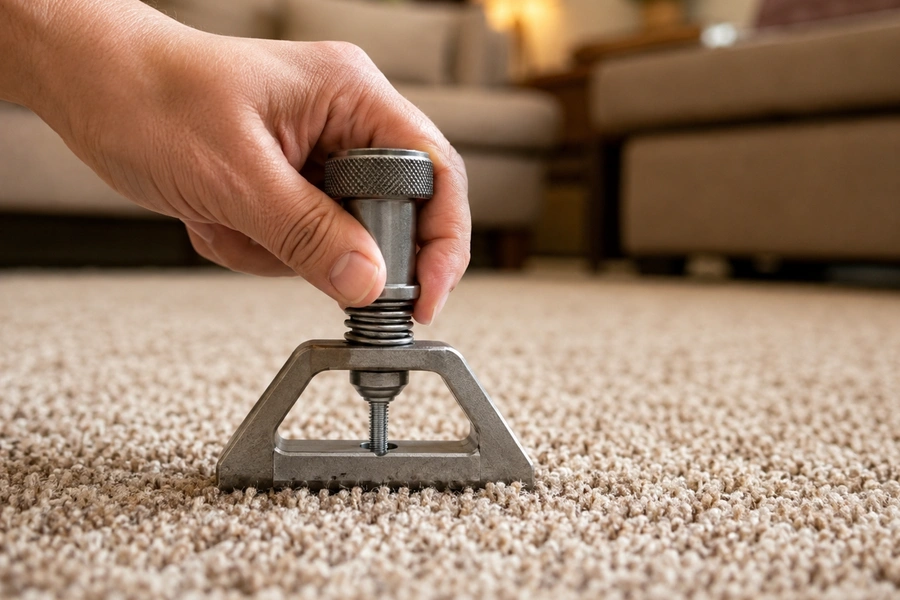 Carpet adds an extra layer that makes a squeaky floor harder to reach. Methods used on bare floors do not work the same under carpet. This repair method lets you fix squeaky floors under carpet without lifting or damaging the carpet.
What you need: An alignment tool, a specialized carpet squeak repair kit, and a screw gripper.
The alignment tool finds the joist under the carpet without cutting the surface. A guided screw passes through the carpet, padding, and subfloor into the joist. The screw head breaks off at the marked point after it is fully tightened.
A smooth carpet surface stays free from visible screws or holes. Gentle brushing of the carpet fibers hides the repair spot. The floor stays quiet without changing the room’s appearance.
Which Fix Should You Use for Your Situation
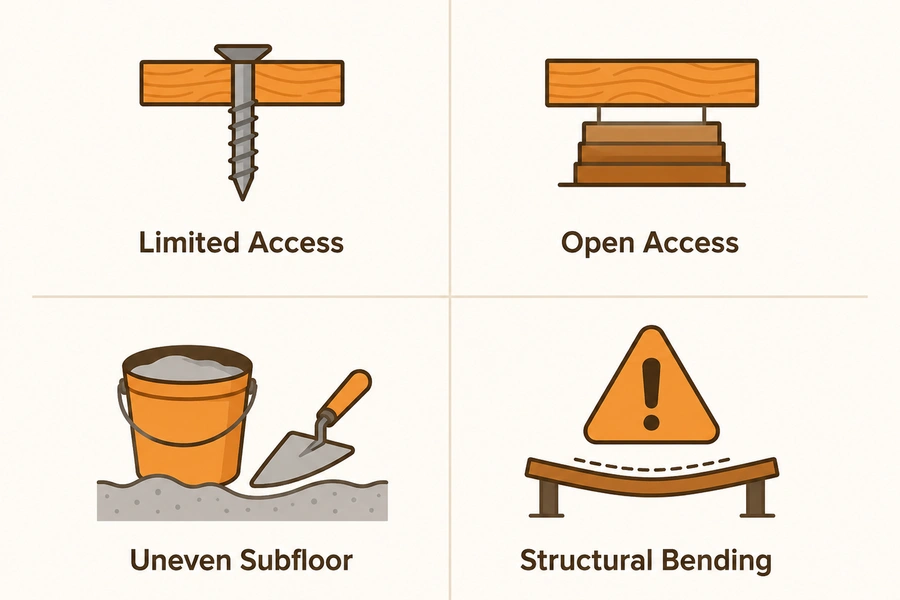 The right repair depends on the cause of the squeak and your floor setup. Access below the floor is the most important factor. The best way to fix a squeaky floor usually depends on these three situations.
Limited access from below
A finished basement or ceiling below the room limits your repair options. Screwing the floorboard down from above or using powder works best in this case. A carpeted room needs the alignment tool and screw gripper method instead.
Open access from below
Open access below the floor gives you more repair choices. Shims or construction adhesive work well for small gaps between the subfloor and joist. Wood blocking works better when wider joist spacing causes extra floor movement.
A larger, uneven subfloor
A larger, uneven subfloor needs a different type of repair. Self-leveling compound fixes the uneven surface instead of one loose board. This method works best when the noise comes from several boards, not just one.
Noticeable bending or bowing
Noticeable bending or bowing underfoot points to a bigger structural problem. Simple squeak repairs will not solve that type of movement. A professional inspection is the safest next step in that situation.
When a Squeak Means a Bigger Structural Problem
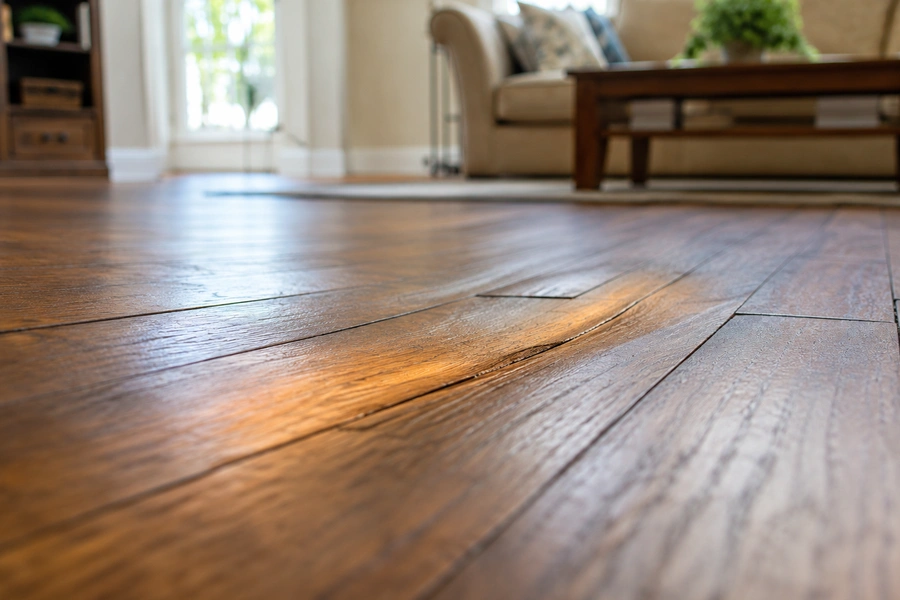 Most squeaky floors are only a minor problem, not a serious one. Some cases can point to a larger issue below the floor. Knowing the difference between a squeaky floor problem and structural damage helps protect your home.
- Noticeable bounce underfoot: A floor that bounces during normal walking usually means more than surface friction. Healthy floors bend slightly, but visible bouncing shows the support structure may be weaker.
- Soft or dipping spots: Boards that feel soft or dip in one area may point to joist or subfloor damage. Moisture or years of wear can weaken the wood in that section.
- Sagging across a wider area: Sagging that spreads across several boards often points to a weak or cracked joist. This type of problem needs more than a shim or screw repair.
- A gap that keeps returning: The same gap coming back after a proper repair may point to ongoing structural stress. A licensed inspector can check whether the joists or subfloor need extra support.
What It Costs to Fix a Squeaky Floor
Repair costs can vary depending on the repair method and the size of the problem area. Knowing the usual price range helps you plan your budget before starting. Squeaky floor repair cost in Dubai depends on the materials, floor access, and labor required.
Surface fixes
Price range: AED 20 to AED 60
Powder or wax costs very little and usually stays within a small material budget. Most homeowners can apply these products without hiring a professional.
Shims & adhesive
Price range: AED 50 to AED 150
These repairs stay affordable when the space below the floor is easy to reach. Material cost makes up most of the total price.
Screw repairs
Price range: AED 100 to AED 300
This repair includes the cost of screws and drilling tools for top or bottom access. Professional labor can increase the total price depending on the company.
Self leveling compound
Price range: AED 400 to AED 1,200
Larger areas need more material, which increases the total cost. Professional installation also adds to the final price.
Carpet specific repair kits
Price range: AED 150 to AED 350
This repair uses an alignment tool and a screw gripper with a special repair kit. Total cost depends on whether you buy the kit or hire someone who already has it.
Structural repairs
Price range: AED 1,500 and above
Joist repairs or subfloor replacement cost more than other repair methods. These jobs need licensed professionals and often require part of the floor to be opened.
Budget estimates help with planning, but should not be treated as fixed prices. Final cost depends on the contractor, the flooring material, and the size of the affected room.
Preventing Squeaks From Coming Back
A proper repair can stop the noise, but good floor care helps keep it from returning. Regular maintenance protects the floor structure over time. These simple steps help prevent squeaky floors from appearing in new areas.
Keep indoor humidity steady
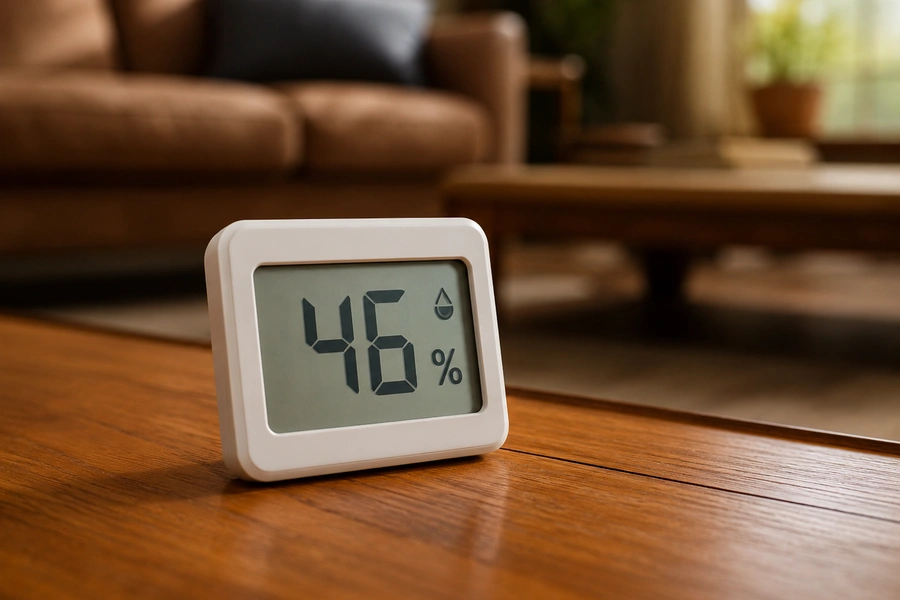 An indoor hygrometer helps you check humidity levels throughout the year. Humidity between 35 and 55 percent suits most wood floors. A humidifier or dehumidifier helps control sudden moisture changes before the wood reacts.
Clean up spills right away
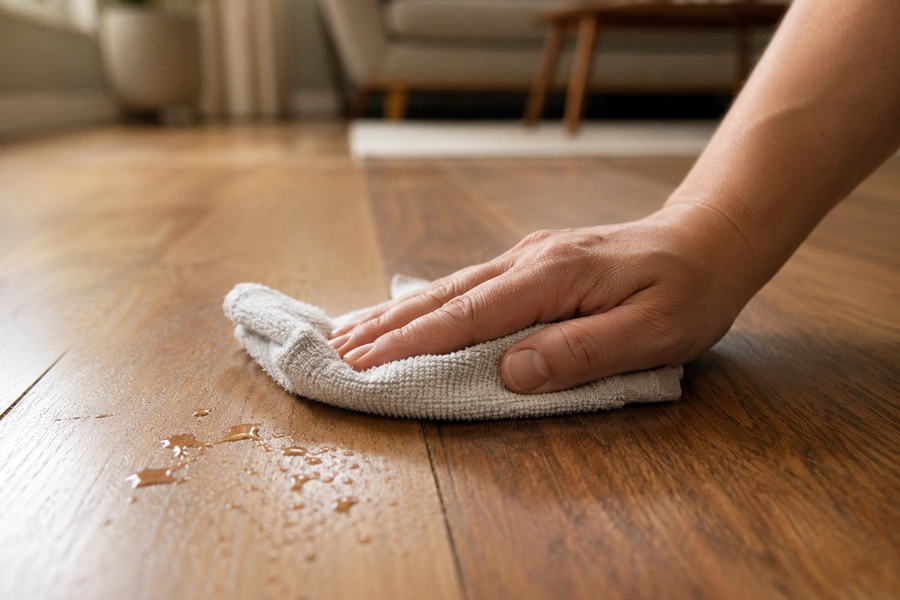 Water left on a wood floor can seep into the seams over time. Quick cleanup is important near kitchens, entryways, and balcony doors. This simple habit helps prevent warping caused by moisture.
Check fasteners once a year
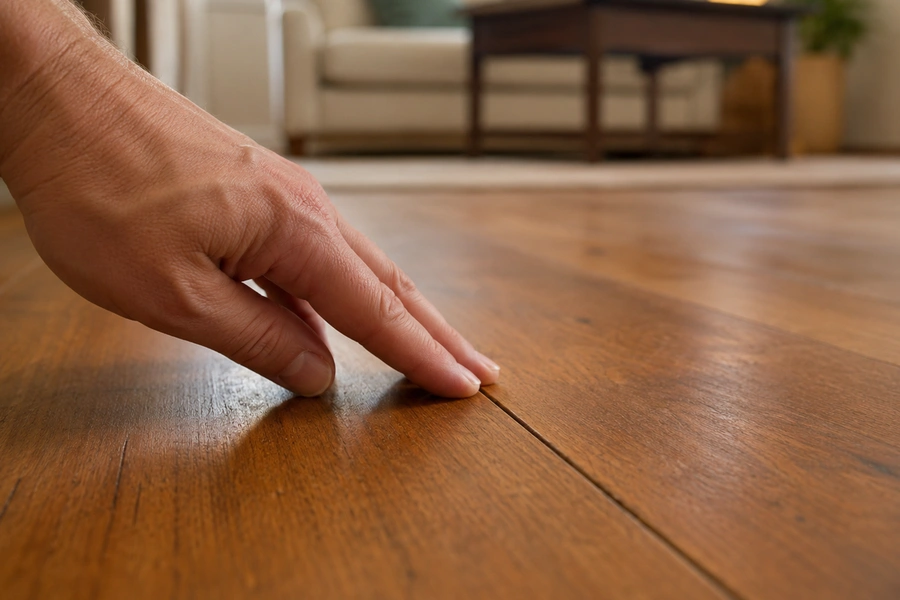 A yearly floor check helps you find new soft or noisy spots early. Early repairs stop loose fasteners from affecting nearby boards. This inspection takes only a few minutes each year.
Use furniture pads under heavy items
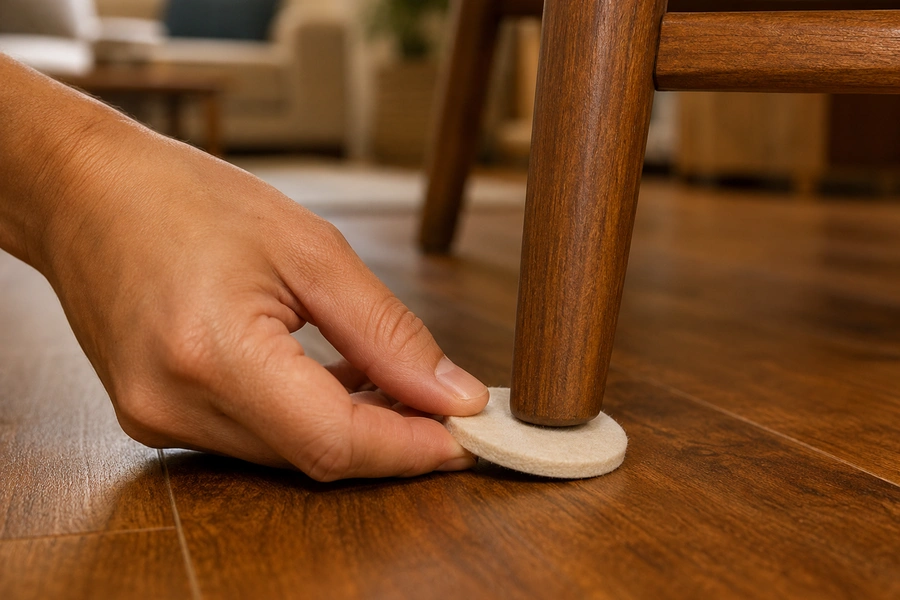 Heavy furniture puts constant pressure on the same floorboards. Felt or rubber pads spread the weight more evenly across the floor. Less pressure helps reduce long term stress on the fasteners below.
Maintain a consistent indoor temperature
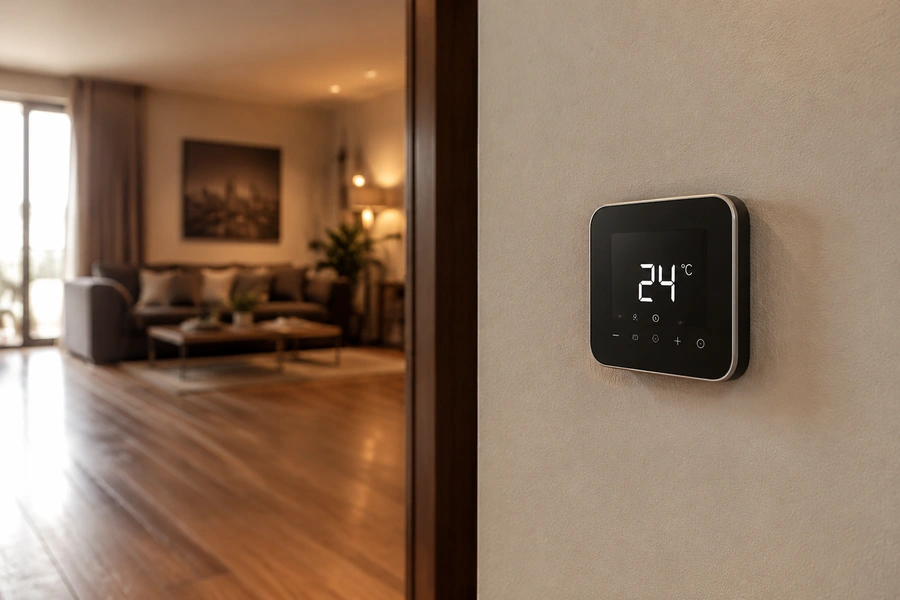 Large temperature changes between rooms make wood expand and shrink unevenly. Steady air conditioning helps reduce this uneven movement. Stable temperature and balanced humidity give the best protection.
Frequently Asked Questions
Can I fix a squeaky floor without removing the flooring?
Yes, most repairs use small access points or the space below the floor. Powder, screws, and shims usually do not require removing any flooring.
Why does my floor squeak more in certain seasons?
Seasonal humidity changes make wood expand and shrink. This movement often makes squeaks easier to hear during dry months.
Is a squeaky floor a sign of poor construction?
Not always. Natural wood movement causes many squeaks over time. Poor construction is only one of several possible reasons.
How long does a typical squeaky floor repair take?
Simple repairs, such as powder or screws, often take less than one hour. Larger repairs, such as self leveling compound, need extra drying time.
Should I hire a professional for a single squeaky board?
A single squeaky board is often an easy DIY repair. Professional help is the better choice for structural problems or squeaks that keep coming back.