Noah Williams is an interior designer and flooring expert at Nova Floor. In Dubai, he helps people pick the right floor, get it installed, and keep it looking good. He also writes simple, practical flooring and home care guides for readers in Dubai and around the world.
How to Clean Vinyl Flooring | 10 Easy Ways to Remove Dirt, Stains & Scuffs
Noah Williams
Vinyl flooring holds up well against daily foot traffic, spills and pets, but it still needs regular care to stay looking its best. The good news is that cleaning vinyl does not require expensive products or complicated steps. This guide by Nova Floor walks through ten easy methods for removing dirt, stains and scuffs, plus what to avoid so you do not damage the finish.
Vinyl flooring comes in a few main types, including luxury vinyl plank (LVP), luxury vinyl tile (LVT), sheet vinyl, and rigid core WPC or SPC planks. Every type has a thin wear layer on top that protects the printed design underneath. Harsh chemicals, abrasive pads, and excess heat can break down that layer over time, so the gentler methods below work across all of them.
Contents
How to Clean Vinyl Flooring
Sweep or vacuum the floor first to remove loose dirt and grit. Then mop with a pH neutral floor cleaner, or a homemade mix of one cup of vinegar and one gallon of warm water. Wring the mop out well so the floor stays damp rather than wet. For scuffs, rub gently with a melamine sponge or a cloth dipped in rubbing alcohol. Lift stains with a paste of baking soda and water. Avoid ammonia, bleach, wax and abrasive scrubbers, since these can dull the finish or cause lasting damage.
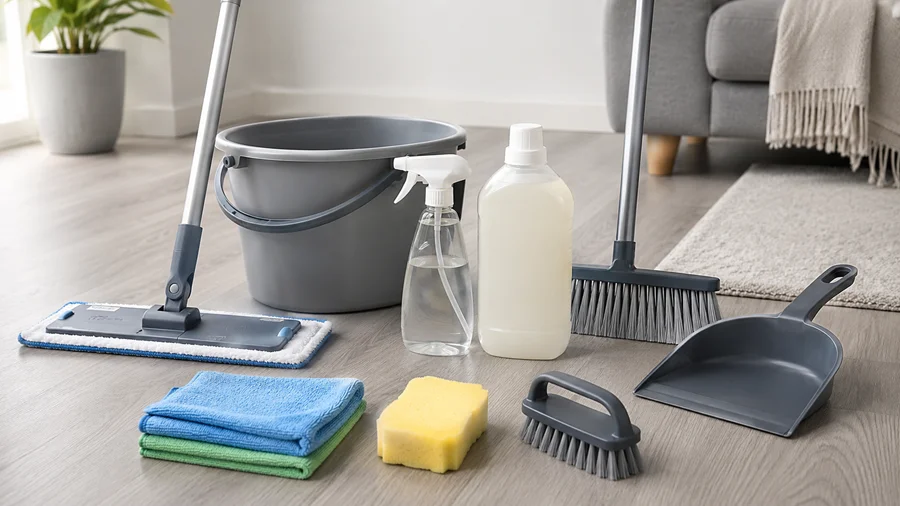
What You Will Need
| Tool or Supply | What It’s For |
| Soft broom, dust mop or vacuum (no beater bar) | Removes loose dirt and grit before mopping |
| Microfiber mop or flat mop | Applies cleaner without soaking the floor |
| pH neutral floor cleaner | Safe, everyday cleaning for most vinyl |
| White vinegar or apple cider vinegar | Natural cleaner and light disinfectant |
| Baking soda | Lifts stubborn dirt and stains |
| Melamine sponge (eraser sponge) | Buffs out scuff marks |
| Rubbing alcohol | Removes scuffs, ink and makeup stains |
| Soft microfiber cloths | Wiping and drying without scratching |
Daily, Weekly & Monthly Cleaning Routine
A simple routine keeps dirt from building up to the point where it needs a heavier clean. Here’s how often each task is actually worth doing:
| Daily | Task |
| Sweep or dry mop high-traffic areas (entryways, kitchen) | Lifts loose dirt and grit before foot traffic grinds it in |
| Wipe up spills as soon as they happen | Prevents the vinyl from absorbing liquid and staining |
| Weekly | Task |
| Vacuum the whole floor (beater bar off) | Catches dust and grit in corners and seams |
| Damp mop with a pH neutral cleaner or vinegar solution | Removes everyday dirt and light stains |
| Monthly | Task |
| Deep clean grooved or textured vinyl with a soft brush | Clears dirt trapped in embossed texture (see section below) |
| Check furniture pads and rug backing for wear | Flattened felt pads or worn rug backing can start scratching the floor |
| Inspect for missed scuffs or light stains | Easier to treat before they set in permanently |
10 Easy Ways to Clean Vinyl Flooring
1. Sweep or Vacuum First
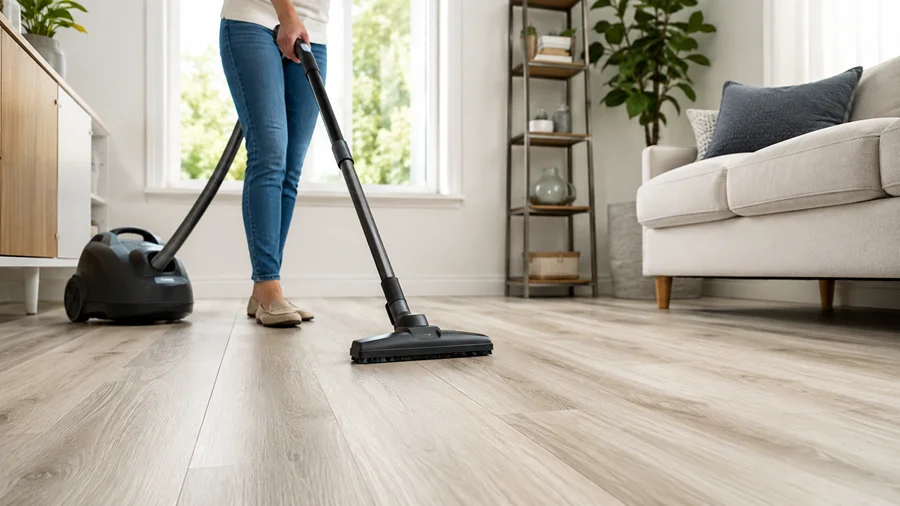
Before any wet cleaning, clear the floor of loose dirt, hair and grit. Use a soft broom, dust mop or vacuum on the bare floor setting. Turn off the vacuum’s beater bar or rotating brush, since it can scratch the surface. Work from the corners toward the center of the room, and do not forget under furniture and along baseboards. If you have plank flooring, run the vacuum along the seams to catch dirt caught between the boards.
2. Choose Your Cleaning Solution
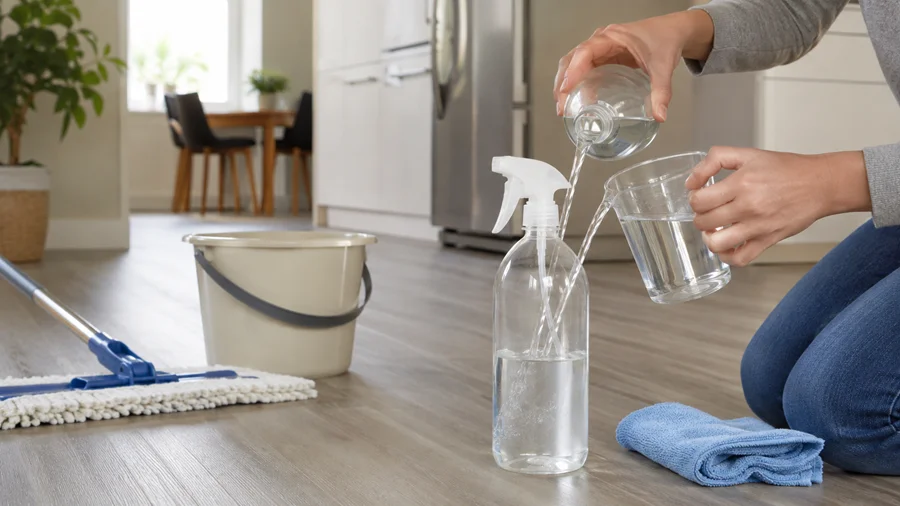
For everyday mopping, pick whichever of these three works with what you already have on hand: a diluted pH neutral floor cleaner, a mix of one cup of white or apple cider vinegar in one gallon of warm water, or a few drops of dish soap in warm water for light grease. All three are safe for vinyl. Vinegar and dish soap are budget-friendly and gentler, while a pH neutral cleaner works specifically for the vinyl finish. Check your flooring manufacturer’s guidelines first, since a few brands advise against frequent vinegar use. Whichever you pick, rinse afterward with a clean, damp mop so the floor does not feel slippery.
3. Mop the Right Way
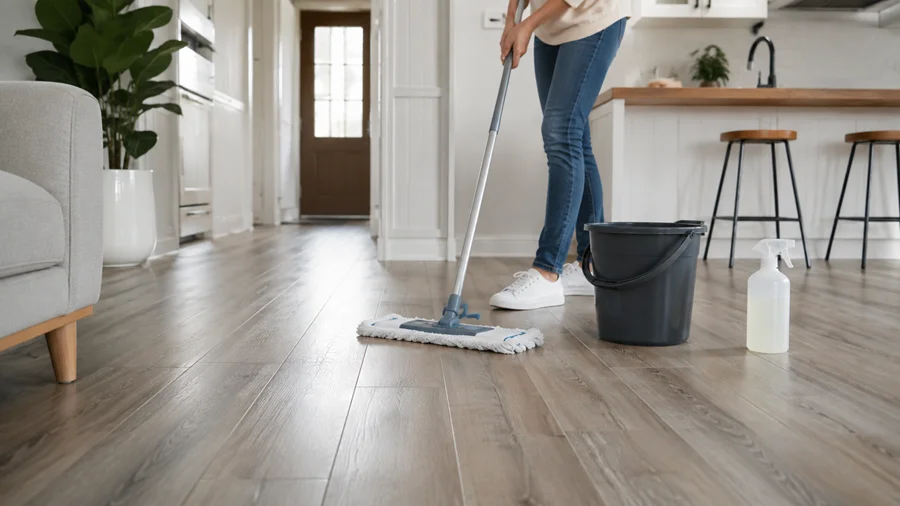
How you mop matters as much as what you mop with. Start in a corner of the room and work toward the doorway, so you always have a dry exit path and never step back over a section you’ve just cleaned. Dip the mop and wring it out well. It should feel damp, not wet. Mop in the direction of the plank grain for the most even clean, and rinse the mop head often in clean water, since a dirty mop just pushes grime around instead of lifting it.
4. Use a Baking Soda Paste for Tough Spots
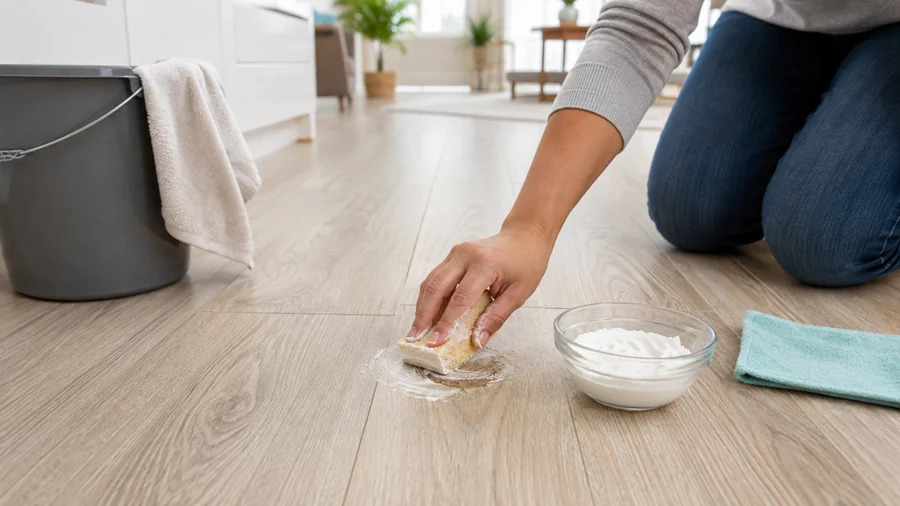
Baking soda works well on dirt and light stains that a regular mop cannot lift. Mix baking soda with a small amount of water until it forms a paste. Apply it to the spot with a soft cloth, rub gently in a circular motion, then wipe clean with a damp cloth. Repeat if needed.
5. Deep Clean with a Steam Mop (With Caution)
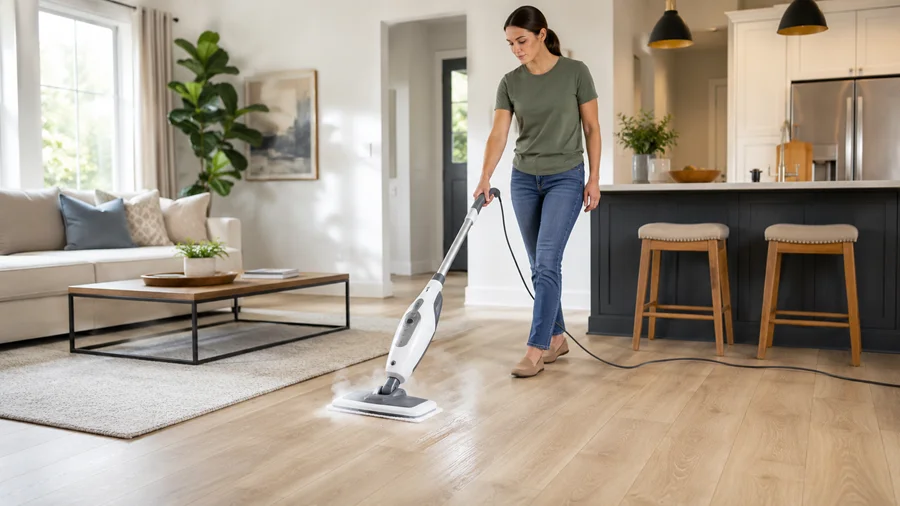
Many manufacturers allow steam mops for a deeper clean, but only on the lowest heat setting and with a microfiber cover on the mop head. Keep the mop moving so heat does not sit in one spot too long, since prolonged heat can warp or damage vinyl. If your manufacturer does not recommend steam cleaning, skip this method and stick with a damp mop instead.
6. Buff Out Scuffs
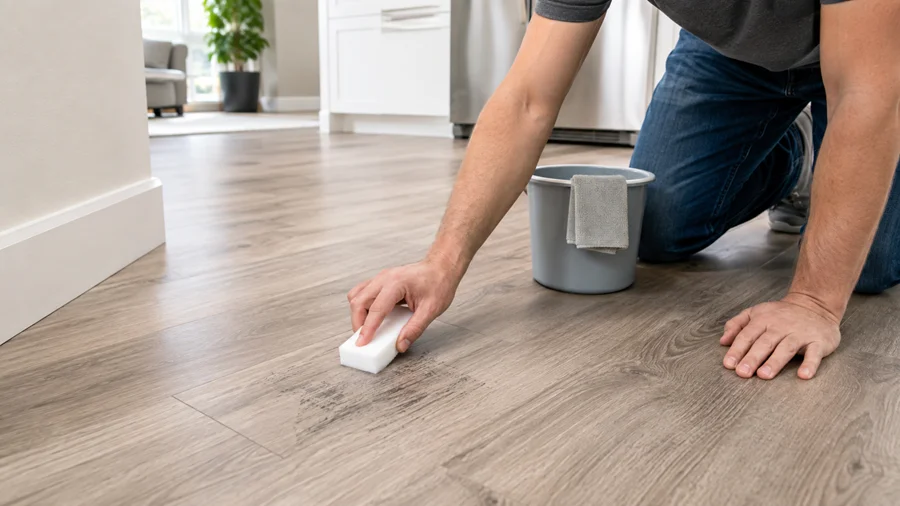
Shoe scuffs and rubber marks usually come off with a melamine sponge, often called a magic eraser. Dampen it slightly and rub the scuff in small circles until it fades. This works without scratching the finish, and it is usually the first thing worth trying. For scuffs that don’t budge, switch to a cloth dipped in rubbing alcohol, or a dab of olive oil, and rub until it lifts. Wash the area afterward with water, or a little vinegar and water, to remove any oily residue and keep the floor from feeling slippery.
7. Treat Stains Based on What Caused Them
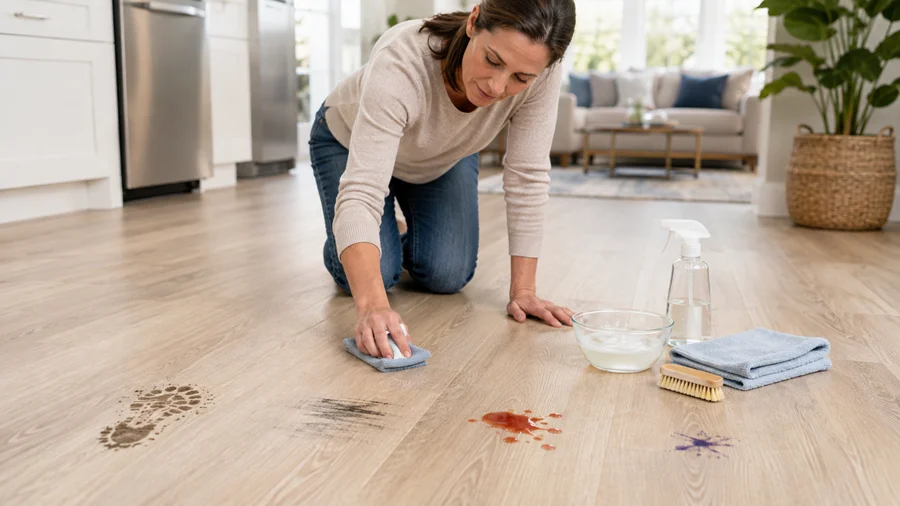
Different stains need different approaches. See the stain removal guide below for quick fixes based on the type of stain.
8. Know How Much Water Is Too Much
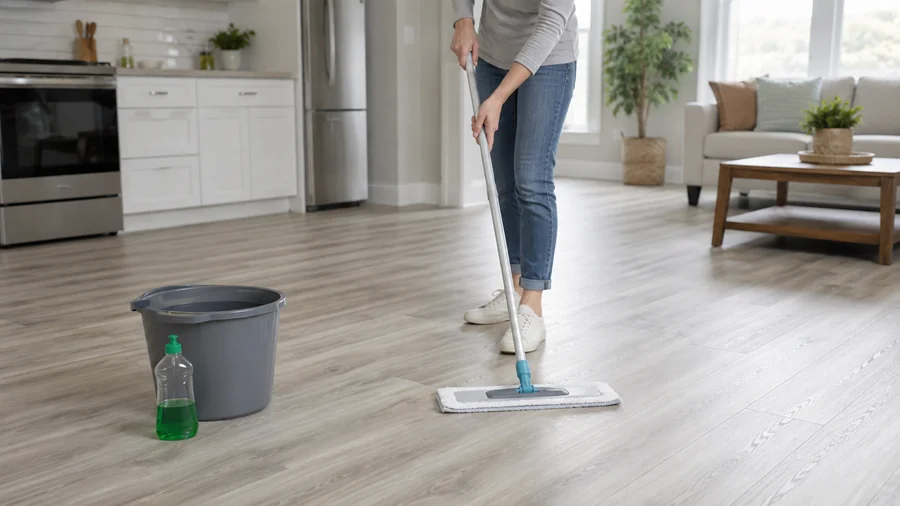
Vinyl handles water better than most hard flooring, but it isn’t waterproof at the seams. Newer vinyl, especially rigid-core WPC or SPC with a click-lock system, tolerates light dampness far better than older adhesive-laid sheet or vinyl tile, where water can work its way under the edges. A puddle left sitting on any vinyl floor, new or old, can seep into seams and cause bubbling, curling, or a soft spot underneath. Keep the mop damp rather than wet, and don’t let cleaning solution pool anywhere. Wipe it up within a few minutes.
9. Dry and Buff for Shine
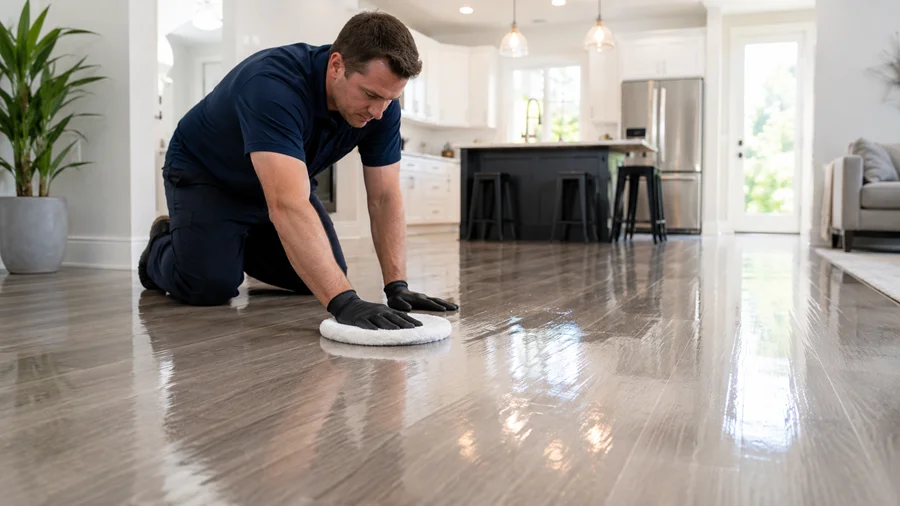
Once the floor is clean, go over it with a dry microfiber cloth or mop to remove any remaining moisture and bring out the shine. Standing water left on vinyl can seep into seams, so drying the floor is worth the extra minute. If the floor still looks dull after cleaning, a water based vinyl floor polish can restore some gloss and add a light protective layer. Avoid traditional wax based polish, since it builds up and leaves a hazy film over time.
10. Know When to Repair Instead of Clean
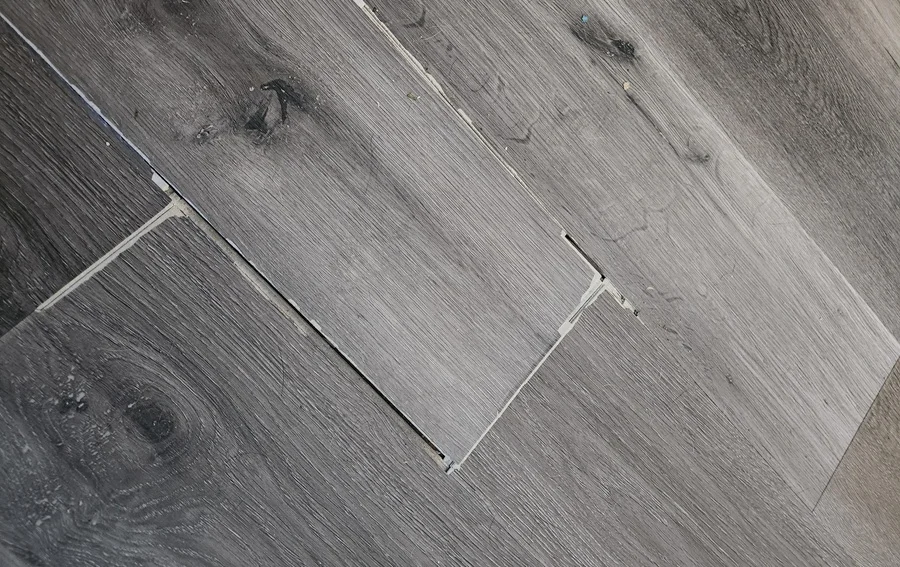
Not every mark comes out with cleaning. Deep gouges, cracked planks, or a scuff that’s actually a scratch through the wear layer won’t respond to any of the methods above, and scrubbing at them risks spreading the damage. If a mark won’t lift after a couple of honest attempts, check whether it’s surface dirt or physical damage to the vinyl itself. See “How to Repair Minor Vinyl Floor Damage” further down before reaching for a full replacement.
How to Fix Discolored or Yellowed Vinyl Flooring
Discoloration usually comes from one of three causes: rubber backed rugs, leftover cleaning product residue, or sun exposure. Each needs a different fix.
- Rubber stains: dab a cloth with rubbing alcohol and rub gently over the discolored area, then wipe with a damp cloth
- Residue buildup: clean with a pH neutral floor cleaner and a soft brush, let it sit briefly, then mop away with clean water
- Sun fading: this discoloration is permanent, so use curtains, blinds or UV filtering window film to prevent it from spreading
If you notice yellowing near the seams or edges of plank flooring, check for trapped moisture underneath before treating the discoloration, since damp subfloor is often the real cause.
Stain Removal Guide by Type
| Stain Type | How to Remove It |
| Juice, wine, sauce, ketchup | Apply a baking soda paste, leave it for a few minutes, then wipe clean |
| Makeup, lipstick, hair dye | Rub with rubbing alcohol using a soft cloth or old toothbrush |
| Hairspray (dulling, not staining) | Mix a drop of shampoo with water and wipe; hairspray usually leaves a dull film rather than a true stain |
| Oil, grease, cooking splatter | Wipe with dish soap and warm water first to cut the grease, then use a light baking soda paste if residue remains |
| Crayon, marker, paint | Dab a cloth with mineral spirits and rub gently |
| Ink or pen | Scrub gently with rubbing alcohol or hand sanitizer and a soft brush |
| Nail polish | Use an acetone based nail polish remover; test it in a hidden spot first |
| Rust marks | Apply oxalic acid or wood bleach, then rinse thoroughly |
| Old, stubborn stains | Make a paste of powdered laundry detergent and water, then scrub with a soft brush |
Acidic spills, such as vinegar, wine, citrus, and tomato sauce, behave differently from everyday dirt. A diluted vinegar solution is safe as a regular cleaner, but concentrated acidic liquids can dull or discolor the finish if left sitting. Wipe these up as quickly as any other stain.
Always test a stain remover in a hidden corner first, since some vinyl finishes can discolor.
What to Look for in a Store-Bought Vinyl Floor Cleaner
Not every hard floor cleaner is safe for vinyl. When picking a bottled cleaner, look for these on the label.
- pH neutral or labeled safe for vinyl, LVP or LVT
- No wax, no ammonia, and no bleach in the ingredients
- A no rinse formula, which saves you a second pass with plain water
- A light dilution ratio, since concentrated cleaners are easier to overuse by accident
Bleach: A Last-Resort Option
Generally, avoid bleach on vinyl (see the list below). But for a stubborn stain that hasn’t responded to anything else, where the only real alternative is replacing the vinyl, a heavily diluted bleach solution can work as a genuine last resort.
- Make sure you’ve fully rinsed off any earlier cleaning products first; mixing chemicals on the floor is a safety risk.
- Mix one part household bleach with two parts water.
- Wearing rubber gloves, dip a rag into the mixture and wring it out so it’s damp, not dripping.
- Let it sit on the stain only as long as needed, then rinse the area thoroughly with clean water.
Work in a well-ventilated room, and always spot-test in a hidden corner before treating a visible area.
Deep Cleaning Grooved, Textured or Heavily Soiled Vinyl
Embossed vinyl with a wood grain or tile grout texture traps dirt inside the grooves, where a flat mop cannot always reach. Walked-in dirt that has built up over months behaves differently than a fresh spill, so it usually needs a bit more effort than regular mopping.
- Vacuum the grooves first with a soft brush attachment to lift out grit before it turns into a paste when wet
- Scrub along the grooves with a soft nylon bristle brush dipped in warm water and a pH neutral cleaner, following the direction of the texture
- For ground-in dirt on flat areas, let a pH neutral cleaner or vinegar solution sit on the floor for a few minutes before mopping, so it has time to loosen the buildup
- Rinse with a clean, well-wrung mop and change the rinse water often, since dirty water just pushes grime back into the grooves
- Dry the floor fully afterward, since grooves hold moisture longer than a flat surface
For very heavy buildup, repeat the process rather than reaching for a stronger chemical or an abrasive pad, since those are more likely to damage the wear layer than to solve the problem faster.
Caring for Glossy vs. Matte Vinyl Finishes
Vinyl comes in both matte and high-gloss finishes, and the difference matters slightly for day-to-day care. Matte vinyl hides light scuffs and water spots well and needs nothing beyond the routine above. High-gloss vinyl shows dust, streaks and footprints more readily, so a well-wrung mop and drying the floor fully after cleaning matter more for keeping the shine even and streak-free. Neither finish needs polish or wax to stay shiny. A clean, dry surface keeps gloss vinyl looking bright.
How to Repair Minor Vinyl Floor Damage
Some damage is worth fixing rather than living with it or replacing the whole floor.
Replacing a single damaged plank (click-lock LVP/LVT)
- Cut into the damaged plank with a utility knife and carefully remove the pieces.
- Trim the tongue off the replacement plank on the long side and one short side so it can angle into place.
- Warm the replacement plank slightly (a hair dryer on low heat helps it flex) and ease it into the gap, long side first.
- Press the short side down to lock it into the groove of the neighboring plank.
Repairing sheet vinyl
You can sometimes seal small cuts, tears, or blisters in sheet vinyl with a clear vinyl seam sealer, though this is a more delicate repair and may not blend in perfectly. For larger damage, a patch cut from a leftover offcut, if you kept one from installation, usually gives a cleaner result than sealer alone.
If the damage covers more than a single plank, or the sheet vinyl has significant tearing, replacement is usually more practical than repair.
What to Avoid When Cleaning Vinyl Flooring
- Ammonia based cleaners, which can break down the vinyl and cause cracking over time
- Bleach as a first choice: treat it strictly as a last resort, heavily diluted (see above), since it can damage the finish
- Wax and paste polish, which build up and leave a dull film
- Steel wool or abrasive scrub pads, which scratch the surface
- Excess water or a soaking wet mop, which can seep into seams and cause bubbling or curling
- Steam mops that sit in one spot too long, or that you use without manufacturer approval
- Rubber backed rugs or mats, which can discolor or stick to the vinyl
Protecting Your Vinyl Floor From Damage
- Sweep or dry mop a few times a week to stop grit from scratching the surface
- Wipe up spills right away, since vinyl can absorb liquid the longer it sits
- Place doormats at entrances. They trap most of the dirt and dust before it reaches the floor
- Use felt or non-rubber pads under furniture legs, and check them periodically since they flatten over time
- Lift furniture instead of dragging it, or slide cardboard underneath when moving heavy pieces
- Choose rugs and mats with a non-rubber, non-staining backing. Rubber or latex backing can discolor or stick to vinyl over time
- Avoid rollers or casters directly on vinyl; add a rug or hard-surface protector underneath furniture that has them
- Be mindful of heavy appliances. Their weight alone can dent vinyl over time, even when nobody drags them
Frequently Asked Questions
What is the best homemade cleaner for vinyl floors?
A mix of one cup of vinegar and one gallon of warm water works well for most vinyl floors. It cuts through everyday dirt without leaving a residue. Always check your flooring manufacturer’s instructions first, since a few brands recommend against vinegar.
Can you use vinegar on vinyl floors?
Yes, in most cases. Vinegar is mild enough for regular mopping when you dilute it properly. Some flooring manufacturers advise against frequent use, since the acid can wear down the finish over time, so check your warranty guidelines first.
Is a steam mop safe for vinyl flooring?
You can use a steam mop on some vinyl floors, but only on the lowest heat setting with a microfiber cover, and only if the manufacturer allows it. Too much heat can warp the planks or loosen the adhesive underneath.
How do you remove scuff marks from a vinyl floor?
Rub the scuff with a melamine sponge, or a cloth dipped in rubbing alcohol, using small circular motions. Wipe the area with a damp cloth afterward to remove any residue.
How often should you clean vinyl floors?
Sweep or dry mop a few times a week, and do a wet mop once a week or as needed. High traffic areas like kitchens and entryways may need more frequent attention.
What should you never use on vinyl flooring?
Avoid ammonia, bleach, wax, paste polish, and abrasive scrubbers like steel wool. These can dull the finish, cause discoloration, or damage the vinyl over time.
How do you make a dull vinyl floor shine again?
Clean the floor thoroughly first, then dry it well with a microfiber cloth. A water based vinyl floor polish can restore some gloss, but avoid traditional wax, which builds up and looks worse over time.
Can you use Pine-Sol on vinyl floors?
You can use diluted Pine-Sol occasionally, but it is not the best everyday choice. Mix about a quarter cup with a gallon of water, mop, then rinse with clean water afterward. Frequent use can dull the finish, especially on luxury vinyl plank, which has a thinner wear layer than sheet vinyl. A pH neutral cleaner made for vinyl is the safer everyday option.
Why does my vinyl floor look streaky after mopping?
Streaks usually mean too much cleaning solution or a mop that needs rinsing. Wring the mop out more often, use less cleaner, and go over the floor a second time with plain water. Letting the floor air dry fully also helps prevent streaks from showing.
How do you clean vinyl flooring with grooves or a textured surface?
Vacuum the grooves first with a soft brush attachment, then scrub along the texture with a soft nylon brush and a pH neutral cleaner. Rinse with clean water and dry fully, since grooves hold moisture longer than a flat surface.
What is the best liquid cleaner for vinyl floors?
Look for a pH neutral, no rinse formula labeled safe for vinyl, LVP or LVT. Avoid anything with wax, ammonia or bleach listed on the label, since these are the ingredients most likely to dull or damage the finish.
Do you need to clean old vinyl flooring differently than new vinyl?
Yes, to a degree. Newer vinyl, especially rigid-core WPC or SPC with a click-lock system, handles light dampness better than older adhesive-laid sheet vinyl or tile, where water can seep under the seams more easily. Mop both types damp rather than wet, and give older floors extra caution around standing water.
Can oil or grease damage a vinyl floor?
Grease itself won’t damage the wear layer, but left sitting it can attract dirt and become harder to lift. Wipe grease spills with dish soap and warm water as soon as you notice them, and follow with a baking soda paste if any residue remains.
Does glossy vinyl need different care than matte vinyl?
Not fundamentally. Both follow the same cleaning routine. Glossy vinyl just shows streaks, dust and footprints more visibly, so a well-wrung mop and thorough drying matter a bit more for keeping the shine even.
Can you repair a damaged vinyl plank instead of replacing the whole floor?
Often, yes. You can usually swap out individual click-lock planks without disturbing the rest of the floor. You can sometimes patch or seam-seal sheet vinyl for small tears, though larger damage usually needs a proper replacement.

Noah Williams
Interior Designer & Flooring Expert